We totally get it! This summer has all of us thirsty for something refreshing. Mint is known not only for its many benefits to the human body but also for its wonderful taste that’s essential to making refreshing and delicious drinks. In this blog, we’ll be talking about everything related to growing mint indoors, from its basic facts, supplies, setup, and steps to grow, care for and harvest it.
| Plant type | Perennial |
| Family | Lamiaceae |
| Binomial name | Mentha |

Timing
Sprouts in 2 weeks. Harvest from Month 3+ on.

Part sun
Equivalent of 5+ hours of direct sun [DLI of 15+ mol/m²/day].

Care
Beginner friendly. You’ll sprout, thin, prune, and harvest.
TABLE OF CONTENTS
Ways to Grow Mint | Care and Maintenance for Mint | Timeline & Steps | Cultivars/Varieties
Ways to Grow Mint Indoors
Growing Mint Indoors Using Soil vs Hydroponics vs Microgreens
Growing Mint Indoors Using Soil
Mint plants do well in moist soil conditions. If the soil dries out completely the roots will die back and it will be tough for the plant to recover. On the other hand, if the roots are exposed to standing water for too long, they can rot.
Growing Mint Indoors Using Hydroponics
Just like basil, mint is one of the indoor plants that you can grow in a hydroponic environment. This is due to the fact that it loves moist conditions.
Equipment Needed for Growing Mint Indoors Using Soil
We prefer using a Ceramic Self Watering Planter for your mint plant indoors, filled with a standard potting mix that self-regulates to keep the soil at consistent moisture for it to thrive (and no watering guesswork for you).
To set one up:

- Fill up the planter with dry soil from the bag, gently tamping down the top.
- Dump the soil into a large mixing bowl and add water until the soil is moist, but not sopping wet (about ½ Cup)
- Mix in 1 tablespoon of the Balanced Blend Plant Food.
If you are using a regular pot instead, it should be a little bit bigger (at least 8" / 1 gal and will need drainage holes to prevent it from being overwatered. Let the top of the soil dry out between watering.
Of course, indoor mint plants will also grow perfectly well in pot and soil. If you are using a regular pot, look for something at least 4” with good drainage. Remember that you are likely to need to water it every 2-3 days. Let the top of the soil dry out between watering.
Here is another self-watering planter that we recommend:

|
Growing Mint Indoors as Microgreens
While it is technically possible, we don't recommend growing mint microgreens because seed is tiny, slow to germinate, and very expensive! In order to get a handful of mint, it could cost you $15 in seed cost alone!
Click here to learn more about the different types of microgreens (herbs being one of them), or grab a copy of our eBook to learn more about all the different ways you can grow mint (and more!) at home.
Caring and Maintenance for Mint Plants Indoors
Light Requirements for Growing Mint Indoors
Like all edible plants, Mint plants need lots of light to grow and develop good flavor. Sunlight is excellent for plant growth (and free!) and you might be lucky enough to have a spot that’s got the 5+ hours of direct sun they need. Even with a bright window, it’s unlikely that you’ll have enough natural light in the winter so we recommend a grow light for anyone who wants a constant supply of flavorful produce.
For an introduction to grow lights, head over to our post on grow lights for indoor gardeners. We’ve also got a buying guide for screw in types, but to keep things simple in this guide, we’ll just provide directions for the 24W Screw in Bulb by Sansi, which we think is a good middle-of-the-road option.

How bright should your grow light be?
Mint plants need the equivalent of 5+ hours of direct sunlight [DLI of 15+ mol/m²/day
to grow their best. In order to provide an equivalent amount with a grow light, it needs to be pretty bright! The 24W Sansi bulb should be placed 6 inches away from the top of the plant. This will give your PPFD (the standard measure of brightness) of 500 μmol/m²/s.
How many hours per day do your Mint plants need under a grow light?
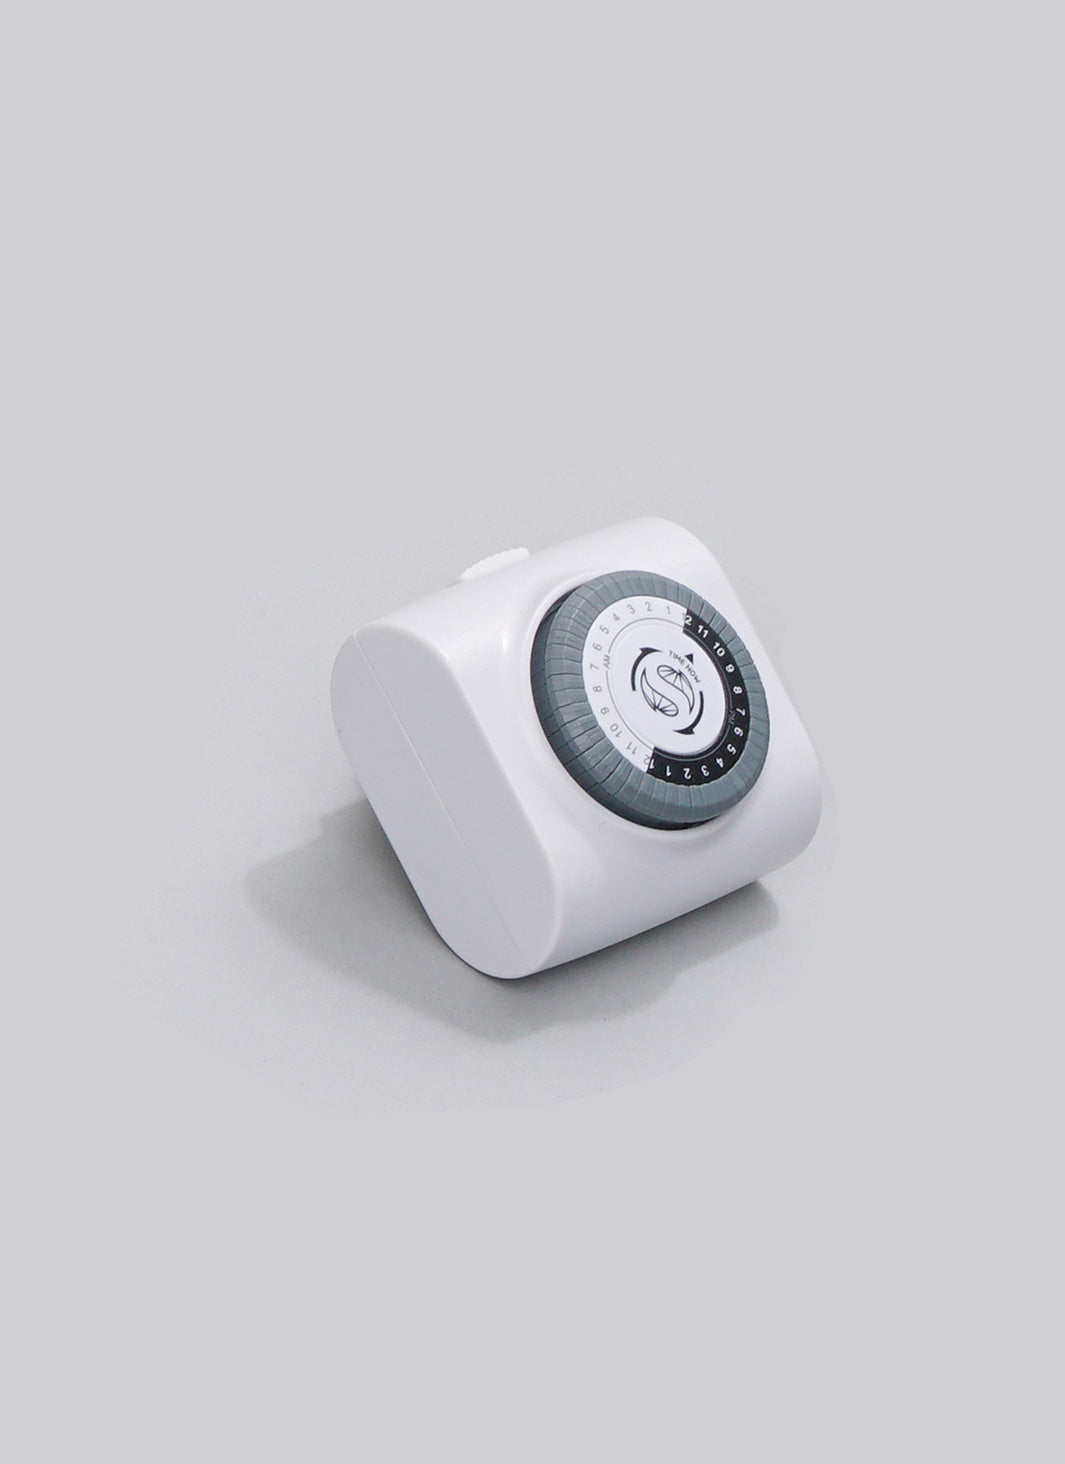
Mint plants are known as “long-day”. When they sense over 12 hours of light per day, they’ll start the end of their lifecycle and work on making seeds. We want to keep them in an earlier stage so we can keep harvesting the leaves, so we recommend setting up a timer to leave it on for only 10 hours per day.
The Right Temperature for Your Indoor Mint Plants
Extend your harvest by keeping the Temperatures Cool
Mint is known as a “cool weather crop.” If it senses warming temperatures it will “bolt” – send up flowers and become bitter in the process. Where you plant them can have some effect on the temperature – lower positions on a growing rack, ceramic planters, and hydroponics with air bubblers tend to run cooler. It’s best to avoid windows that get really hot (like bay windows).
Water and Humidity
Herbs such as mint thrive on consistent moisture but can suffer if they’re waterlogged, so make sure to water them regularly especially if you’re using soil. To avoid your indoor mint plant being waterlogged, make sure to use a pot with drainage, or just use self-watering pots, as mentioned above.
Nutrients and Fertilizers
Mint likes to start with nutrients that are equal parts nitrogen, phosphorus, and potassium (with NPK numbers like 10-10-10). For this Balanced Blend we recommend: Dr Earth All Purpose
Once they are growing, it’s better to use plant food that is high in nitrogen (with NPK numbers like 10-5-5). For this Herb Blend, we recommend: Joyful Dirt All Purpose
Moving Your Mint Plant Outdoors
We talked about mint plants liking cooler temperatures, however, you can still move them outdoors in the spring or summer if you want to as they can be grown easily, be it indoors or outdoors. To learn more about growing mint outdoors, check this out. (coming soon!)
Timeline and Steps on How to Grow Mint Indoors
Best Setup for Indoor Mint Plants
Below is the best setup (and a very easy one!) for growing your mint plants indoors. You’ll need:
Best Planter for Mint:
Ceramic Self Watering Planter (preferred) or pot that is at least 8″ / 1 gal.
Soil:
Standard Potting Mix
Plant Food:
At the start: Balanced Blend. This should be equal parts nitrogen, phosphorus, and potassium (with NPK numbers like 10-10-10).
Ongoing: Herb Blend. This should be high in nitrogen (with NPK numbers like 10-5-5).
Grow Light:
A strong grow light that can give the equivalent of 5+ hours of direct sun [DLI of 15+ mol/m²/day].
Starting your Mint: Seed vs Cutting vs Nursery Plant
New Mint plants can be started from seed, propagated from an established plant, or purchased live at many garden centers. We prefer to sprout from seed or propagate from a stem cutting, as it results in plants that are adapted to your growing conditions and limit the chances that you accidentally bring home pests.
How to Plant Mint seeds

Mint grows quickly from seed. Plant 1 site in an 8″ / 1 gal container. In larger containers, space sites 4″ apart. For each site press 3 seeds into the surface. Keep the soil warm (68-80°F, ideally 70°F). Sprouts typically appear in 12 days but can be as quick as 10 days or as long as 15 days depending on your conditions. Don’t cover the seeds as light helps them sprout.
Propagating Mint: How to Clone from a Stem Cutting

If you’ve already got a Mint plant you love (or a friend does!) you can easily “clone” it with just sharp scissors and a clean glass of water. First, cut a couple 6” shoots of new growth (avoid anything woody). Next, remove the lower leaves, so the bottom half is just stem. Place in a glass of 3” of water, making sure the cut leaf spots are underwater. Place the glass on a bright windowsill and change the water every few days. In a couple of weeks, roots should emerge and you can transplant them into your container. While using additional rooting hormones won’t hurt, it’s not necessary with Mint plants.
- Cut 6” section of new growth
- Remove leaves halfway and place them in the water on a sunny window sill
- Wait 7-14 days for a few ½ inch roots to form and carefully transplant into its final container.
How to Transplant Mint

Live starter plants give you a big jump start on your first harvest. When you’re in a garden center – pick the bushiest plant available (tall and lanky ones will be weak growers) and give it a good inspection for pests.
Leaves should be dark green without holes, spots, or curled edges. A best practice is to actually “quarantine” your plant for about a week after bringing it home to make sure it’s free and clear of ride-on pests.
Ensuring it’s pest and disease-free it’s time to transplant your seedling into its final home.
- Remove some soil from its final planter – leaving enough space for the bottom of the seedling to be just higher than the soil surface.
- Hold on to the base of the stem with one hand, and turn the pot over while gently pulling the seedling. Giving the pot a few squeezes can help dislodge it.
- Place in its final container and fill around it with soil so that it’s tight, but not compacted.
Week 2: Check for Mint Sprouts
You could see seedlings in as little as 10 days (though 12 days is more typical). If it’s been 15 days and you still don’t have any sprouts, it’s likely that your setup is too cold.
Week 4: Thin Your Mint Seedlings
Thin your planter to only have 1 seedling per site – leaving the largest plant. If you are using the recommended planter (at least 8″ / 1 gal) this will mean you’ve got 1 plant after thinning. By getting rid of the smaller seedlings, you’re allowing the biggest and strongest one to flourish by reducing its competition for water, food, and space.
If your seedlings are under 1 inch, stretching out, or folding over, it’s likely that they don’t have quite enough light.
Month 2: How to Prune Mint Plants

Once your Mint plant has 3 sets of mature leaves you’re ready for your prune. Cut off the top set of mature leaves, leaving the bottom two (it’s best to cut right above the pair of leaves you’re keeping on the plant). Once these branches grow out (and each has a few sets of their own leaves) you can cut the tip – just as you did with the main stem.
At this point your plant will be fairly well shaped, so hone your inner Bonzi master and use your thinning and heading cuts to harvest and shape your herbs as you go.
Month 3+: How to Harvest Your Indoor Mint Plant
As your mint continues to grow, keep harvesting to encourage growth. If you only want a couple of leaves, pick leaves where new ones are emerging at the base. For a bigger harvest, cut one of the stems directly. You shouldn’t harvest more than 1⁄3 of the plant at a time.
How to Use Your Freshly-harvested Mint Leaves in Cooking
Mint is an herb with a very fresh flavor, which can be added to your sweet and refreshing drinks and to your savory dishes. Here are just some ways they can be used in cooking:
- Mint tea
- Top on/mix with pasta
- Make pesto
- Add to cocktails
- Mix with salads
Check out some more of our favorite mint recipes here.
How to Preserve Mint Leaves
There are several ways to preserve or keep your herbs fresh, and here are just some of the easiest and the ones we recommend the most:
- Lazy person technique. It involves keeping the fresh herbs in their original packaging and simply storing them in the fridge.
- Storing the herbs in a glass of water inside the fridge. You can do this by cutting the end of the stem of your herb, filling a glass jar or cup with water, and placing your herb inside. Almost like a vase or bouquet of herbs!
- Keep in a glass of water under natural lighting.
- Wrap loosely in a damp paper towel.
- Freeze them herbs! Yes, you can freeze fresh herbs such as mint to use at a later time! All you need are some ice cube trays and a freezer, and you’re all set.
Learn more about how to preserve and keep your herbs and mint fresh here.
Year 10+: End of Life
Mint, being a perennial herb, can live for a very very long time if the conditions are right. If you live somewhere with colder winters and are growing outside, be sure to bring your mint in before the temperatures drop.
If you’d like to learn about the dozens of other herbs, fruits, and vegetables that you can grow indoors then grab a copy of our free eBook below.
Best Mint varieties to grow inside
Mint is an easy enough plant to care for, indoors and out. Here are the 4 most common mint varieties that you can grow indoors:
Spearmint
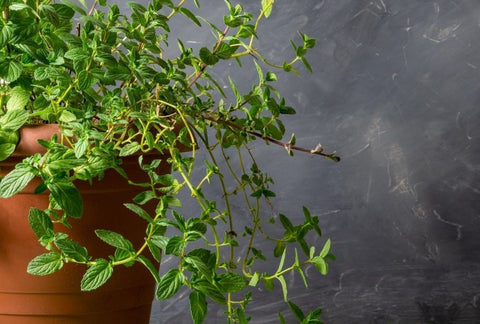
The most common variety of mint. Because it contains less menthol than peppermint, it is best used in savory cuisine and sauces, as well as in cold drinks, cocktails, and teas.
Urban LeafPeppermint
A cross between spearmint and water mint, peppermint has been used for thousands of years as herbal medicine. It is an excellent addition to chocolatey desserts, ice cream, teas, and potpourris.
AmazonApple Mint
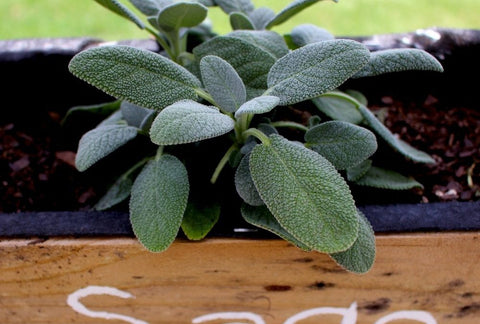
It is notable for its fuzzy and fragrant leaves and has a fruity and minty flavor. It’s perfect for making iced and hot teas, salads, and homemade jelly.
AmazonChocolate Mint
Offering just a subtle hint of chocolate among the minty-ness, chocolate mint leaves are great in desserts, bread, and teas.
AmazonWe hope that this blog has given you everything you need to know about growing mint indoors. In case you have any questions, just leave a comment below.



There are no comments for this article. Be the first one to leave a message!