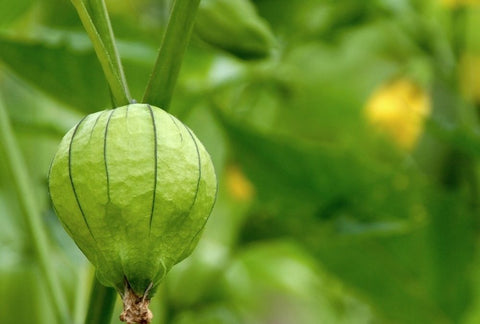
Tomatillos go by many names, including Mexican green tomatoes (or tomate verde in Spanish), husk tomatoes and jamberries. The word tomatillo means “little tomato.”

Timing
Sprouts in 1-2 weeks. Harvest from Month 3+ on.

Full sun
Equivalent of 7+ hours of direct sun [DLI of 21+ mol/m²/day].

Care
Intermediate. You’ll sprout, thin, prune, and cross-pollinate.
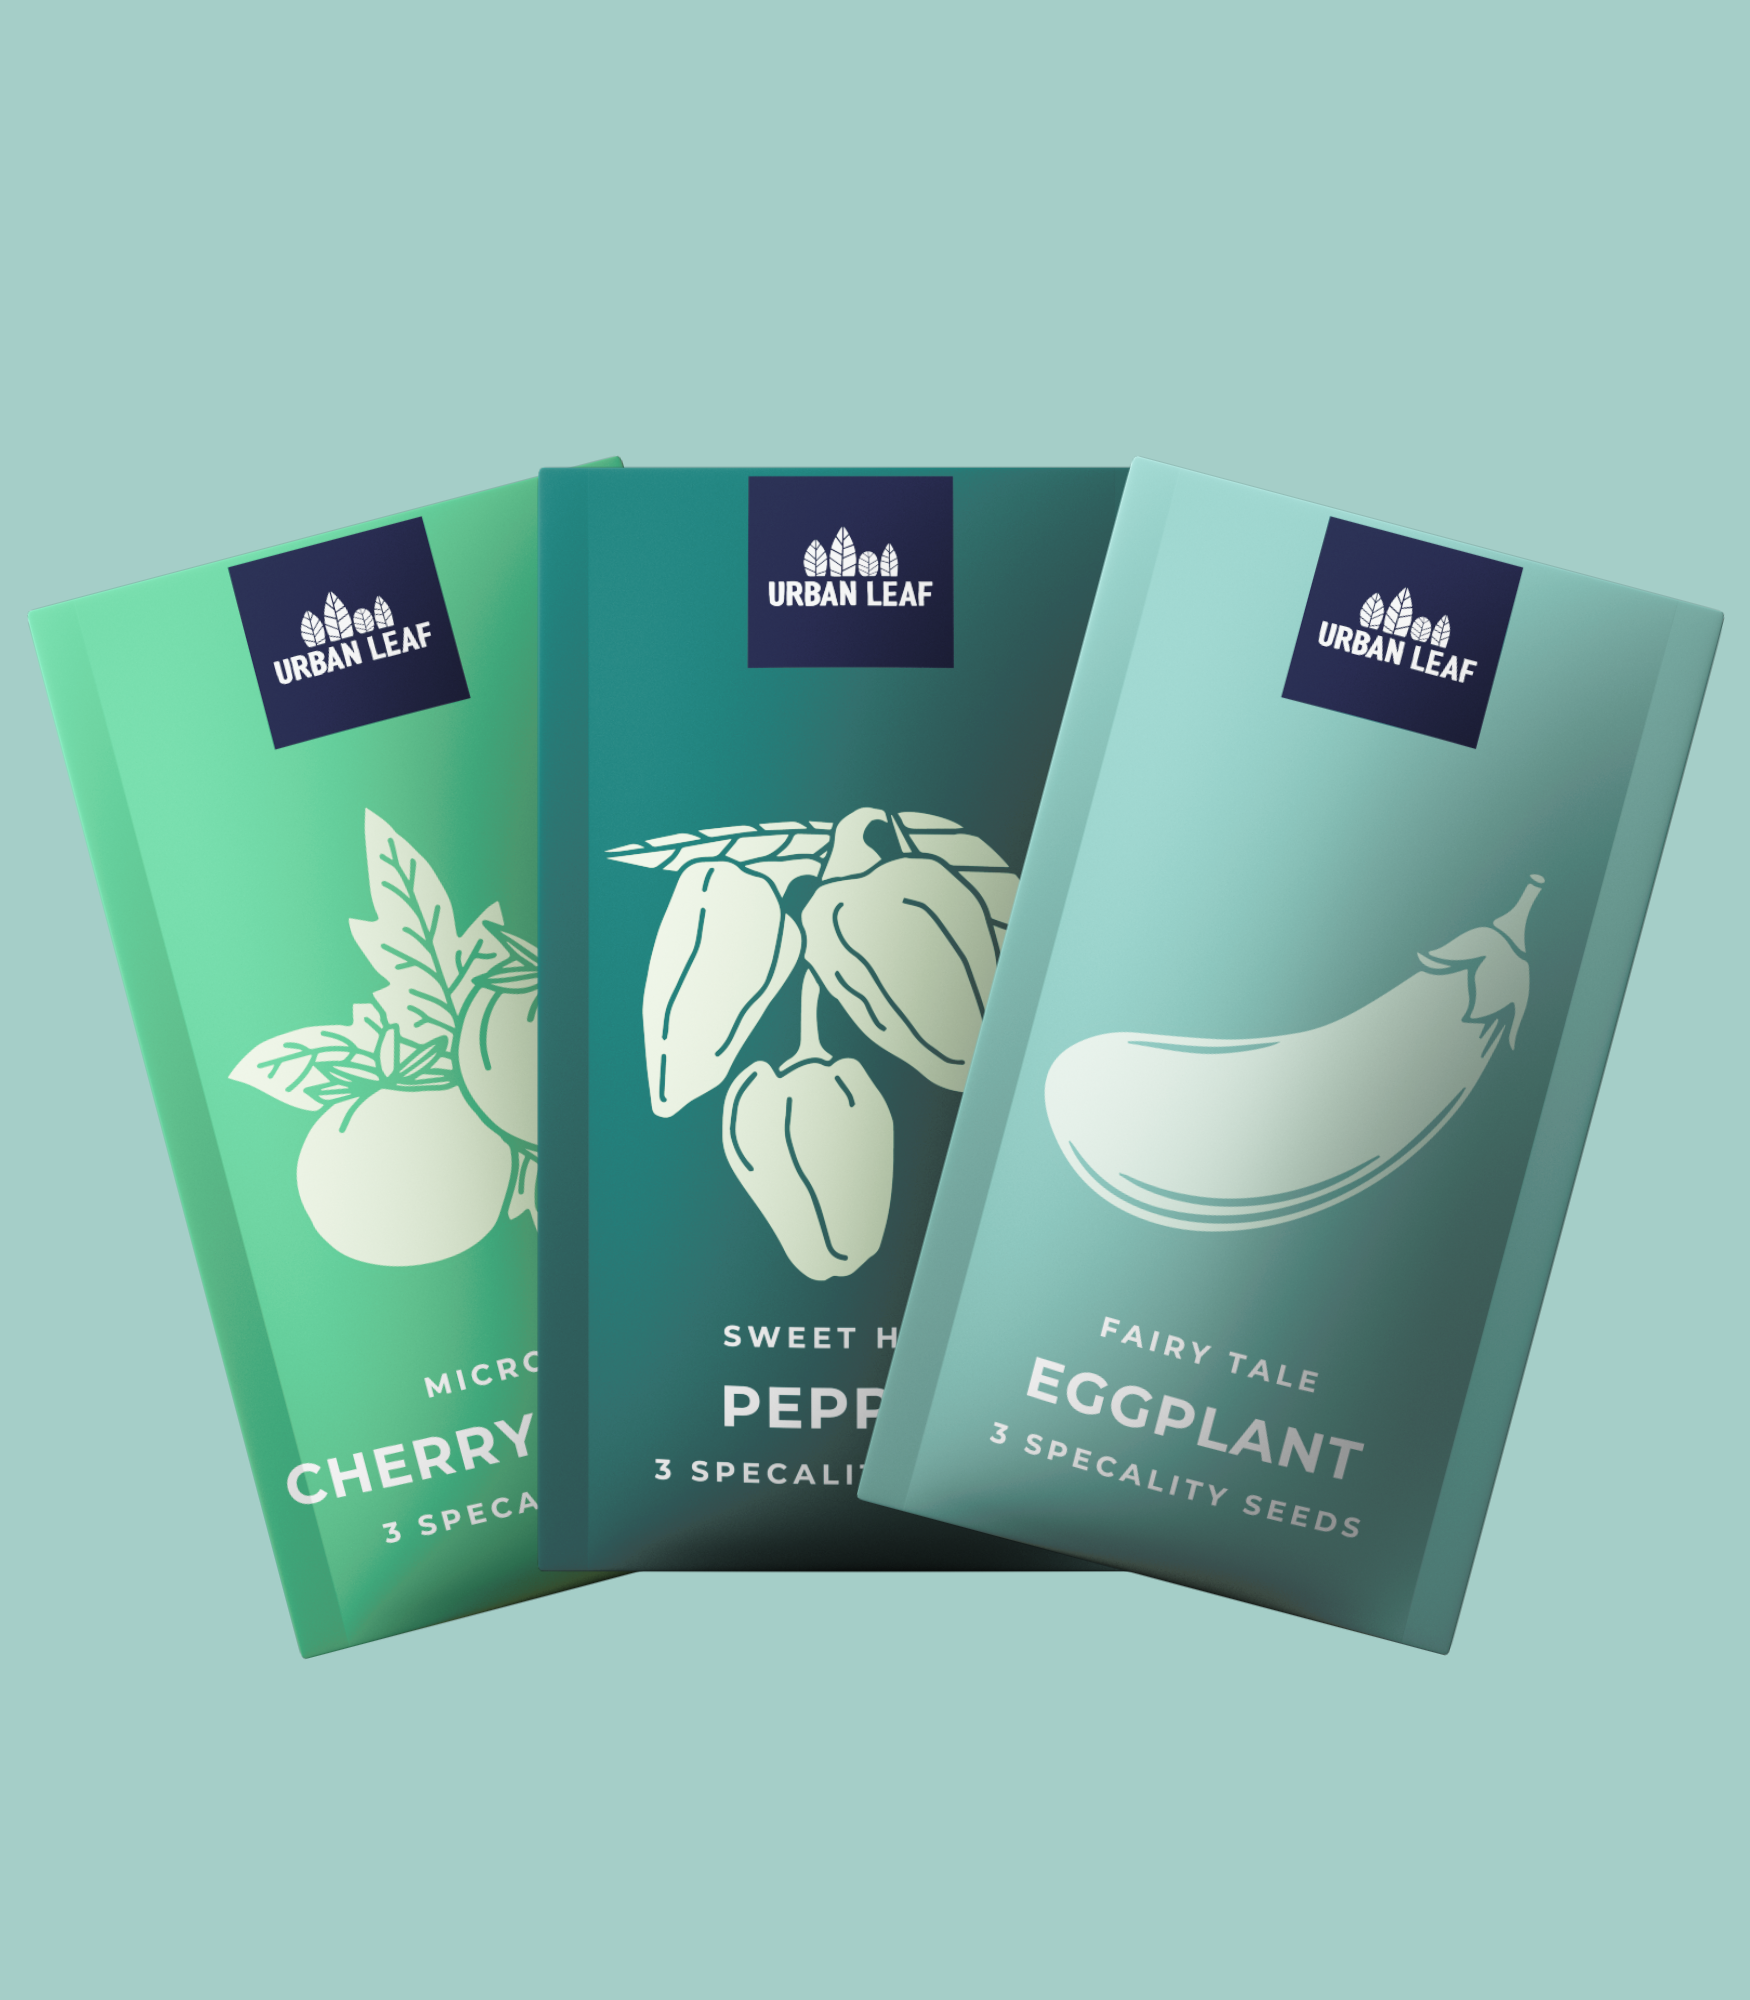
Best Tomatillos varieties to grow inside.
Tomatillos have several varieties that you can grow indoors. We have listed the best ones for you below:
Purple
Turns purple and sweet when fully ripe. Makes a unique yet delicious salsa (in both color and flavor).
AmazonPineapple Ground Cherry
Bears very small fruit – becomes sweet when ripe. Awesome for making salsa or jam.
Amazon
Best Setup for Tomatillo Plants
You’ll need:
Planter:
Ceramic Self Watering Planter (preferred) or pot that is at least 12″ / 5 gal.
Soil:
Standard Potting Mix
Plant Food:
At the start: Herb Blend. This should be high in nitrogen (with NPK numbers like 10-5-5).
Ongoing: Vegetable Blend. This should be high in phosphorus and low in nitrogen (with NPK numbers like 4-10-6).
Grow Light:
A strong grow light that can give the equivalent of 7+ hours of direct sun [DLI of 21+ mol/m²/day].
Jump to: Our product recommendations
Preparing your Planter & Watering Schedule for Tomatillo
Tomatillo plants do well in moist soil conditions. If the soil dries out completely the roots will die back and it will be tough for the plant to recover. On the other hand, if the roots are exposed to standing water for too long, they can rot.
A Ceramic Self Watering Planter filled with a standard potting mix self-regulates to keep the soil at consistent moisture for your plant to thrive (and no watering guesswork for you).
To set one up:

- Fill up the planter with dry soil from the bag, gently tamping down the top.
- Dump the soil into a large mixing bowl and add water until the soil is moist, but not sopping wet (about ½ Cup)
- Mix in 1 tablespoon of the Herb Blend Plant Food.
If you are using a regular pot instead, it should be a little bit bigger (at least 12″ / 5 gal and will need drainage holes to prevent it from being over watered. Let the top of the soil dry out between watering.
Starting your Tomatillo: Seed vs Cutting vs Nursery Plant
New Tomatillo plants can be started from seed, propagated from an established plant, or purchased live at many garden centers. We prefer to sprout from seed or propagate from a stem cutting, as it results in plants that are adapted to your growing conditions and limit the chances that you accidentally bring home pests.)
How to Plant Tomatillo seeds

Tomatillo grows quickly from seed. Plant 1 site in a 12″ / 5 gal container. In larger containers, space sites 8″ apart. For each site plant 3 seeds 1/4 inches deep. Keep the soil warm ( 70-80°F, ideally 75°F). Sprouts typically appear in 10 days but can be as quick as 7 days or as long as 14 days depending on your conditions.
Propagating Tomatillo: How to Clone from a Stem Cutting

If you’ve already got a Tomatillo plant you love (or a friend does!) you can easily “clone” it with just sharp scissors and a clean glass of water. First, cut a couple 6” shoots of new growth (avoid anything woody). Next, remove the lower leaves, so the bottom half is just stem. Place in a glass of 3” of water, making sure the cut leaf spots are underwater. Place the glass on a bright windowsill and change the water every few days. In a couple of weeks, roots should emerge and you can transplant them into your container. While using additional rooting hormones won’t hurt, it’s not necessary with Tomatillo plants.
- Cut 6” section of new growth
- Remove leaves halfway and place them in the water on a sunny window sill
- Wait 4-5 days for a few ½ inch roots to form and carefully transplant into their final container
How to Transplant Tomatillo
![]()
Live starter plants give you a big jump start on your first harvest. When you’re in a garden center – pick the bushiest plant available (tall and lanky ones will be weak growers) and give it a good inspection for pests. Leaves should be dark green without holes, spots, or curled edges. A best practice is to actually “quarantine” your plant for about a week after bringing it home to make sure it’s free and clear of ride-on pests.
Ensuring its pest and disease-free it’s time to transplant your seedling into its final home.
- Remove some soil from its final planter – leaving enough space for the bottom of the seedling to be just higher than the soil surface.
- Hold on to the base of the stem with one hand, and turn the pot over while gently pulling the seedling. Giving the pot a few squeezes can help dislodge it.
- Place in its final container and fill around it with soil so that it’s tight, but not compacted.
Where to grow your Tomatillo plants
Tomatillo plants have the highest light needs of any plant – so unless you have a totally unobstructed southern-facing window and plan on only growing in the summer – you’ll need a grow light. We still recommend taking advantage of your bright window (sunlight is free and great for plants!) and supplement it with a grow light. For an introduction to grow lights, head over to our post on grow lights for indoor gardeners. We’ve also got a buying guide for screw in types, but to keep things simple in this guide, we’ll just provide directions for the 24W Screw in Bulb by Sansi, which we think is a good middle-of-the-road option.

How bright should your grow light be?
Tomatillo plants need the equivalent of 7+ hours of direct sunlight [DLI of 21+ mol/m²/day] to grow their best. In order to provide an equivalent amount with a grow light, it needs to be pretty bright! The 24W Sansi bulb should be placed 6 inches away from the top of the plant. This will give your PPFD (the standard measure of brightness) of 500 μmol/m²/s.
How many hours per day do your Tomatillo plants need under a grow light?
Tomatillo plants are known as “long-day” meaning that they develop faster with over 12 hours of light (and only need 6 hours of darkness to rest) so set your timer to light your plants for 14+ hours is best.
Tomatillo Plants Grow Faster in Warmer Temps
Tomatillo plants are called “warm-weather crops” and like temperatures right around 80. They will grow fine in conditions between 70 and 90°F but can lose their fruit if it drops below 40. On the other hand, if they are too hot, they will drop their blossoms, wilt, and stop ripening. Most homes are in a good range – and a south-facing sunny window can help get a plant the extra heat if needed.
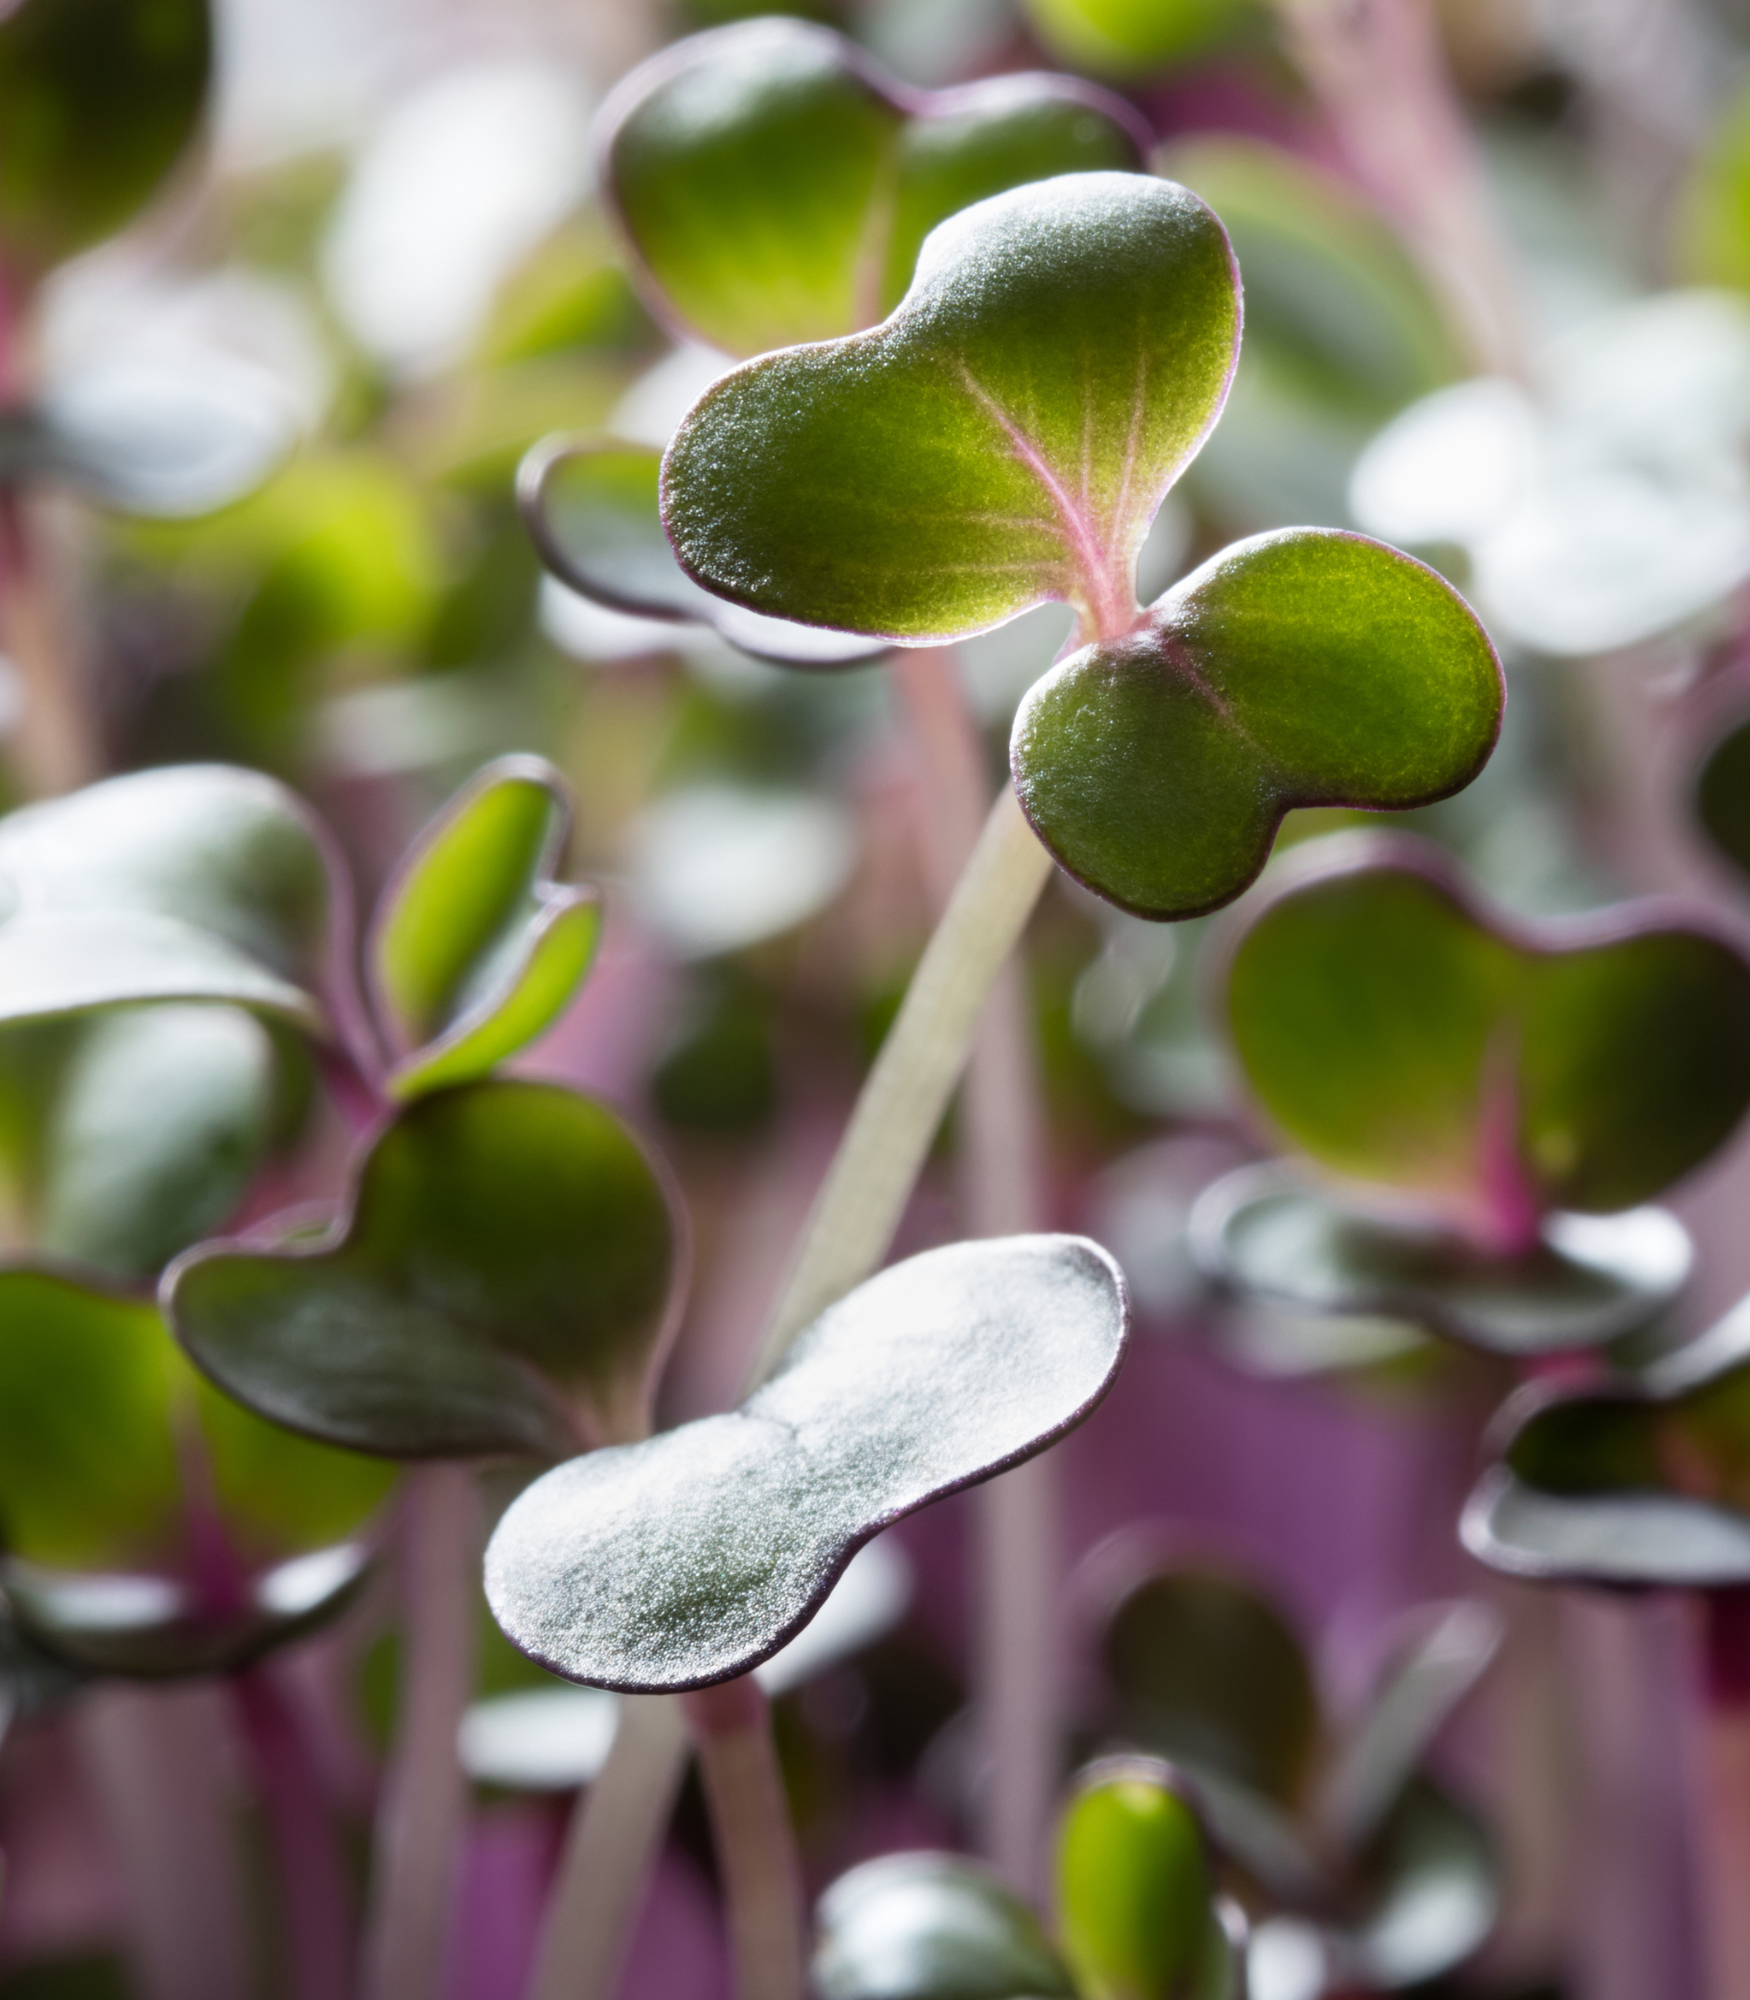
Week 1-2: Check for Sprouts
You could see seedlings in as little as 7 days (though 10 days is more typical). If it’s been 14 days and you still don’t have any sprouts, it’s likely that your setup is too cold.
Week 3: Thin Your Seedlings

Thin your planter to only have 1 seedling per site – leaving the largest plant. If you are using the reccomended planter (at least 12″ / 5 gals) this will mean you’ve got 1 plant after thinning. By getting rid of the smaller seedlings, you’re allowing the biggest and strongest one to flourish by reducing its competition for water, food, and space.
If your seedlings are under 2 inches, stretching out, or folding over, it’s likely that they don’t have quite enough light.
Week 4: How to Trellis Tomatillo Plants

Tomatillo plants are vines that will continue to grow and grow – so a monthly trim will be a necessary part of your care routine. You’ll make your first cut at about the second month, or when you have 5 branches and a growing tip, cut (or just pinch) off the main stem above the 5th branch. By removing the growing tip, you’re having the plant focus its energy on those 5 branches. There are several support options, ranging from cages to stakes, but we like to train those 5 branches up a fan trellis with plant clips.

After this, pruning and trellising is more of an art (fortunately an art that’s hard to mess up) but the general things you’ll want to look of for when:
- Little leaves grow out of the “V” where a branch meets the main stem. Snap these “suckers” off right at their base.
- The main stem is going past your grow area. Pinch of the growth tip where you want it to stop.
- A heavy cluster of Tomatillo starts to form. The weight can snap the vine, so clip right above the cluster to the trellis to avoid this (mildly heartbreaking) event.
- The plant is getting so dense that light and air can’t get in. Keep up with interior pruning to have a tidy “bonsai” Tomatillo plant.
Month 2+: Cross Pollinate Your Tomatillo Flowers
Tomatillos are able to self-pollinate, though they do produce much more fruit if they cross pollinate, so it’s best to have two (or more) plants. To cross-pollinate your flowers use a cotton swab or paintbrush to pick up pollen from the flowers on a plant, and then dab the pollen inside the flowers on another plant.
Month 3+: How to Harvest Tomatillos
Tomatillos are ready to harvest when the papery husk around the fruit turns tan and begins to split. Most people prefer to pick them when the fruit inside is still green which has a nice tart flavor in cooking. If you wait for the fruit to change color from green to yell, red, or purple they will be a bit sweeter. Pick the fruits every week to keep the plant producing at a good pace.
Year 1+: End of Life
Tomatillos are is a perennial so they keep producing for years as long as you give it more soil, nutrients, and proper care.
Shop This Blog
The right supplies can take the guesswork out of caring for your plants – and turn care from a daily to weekly routine. Through our grow tests, we’ve found these products to produce the best indoor Tomatillo (and also have simple maintenance). Plants are adaptable and can grow in many different conditions, so they are by no means necessary if you already have other supplies.
Best Containers for Tomatillo: Ceramic Self Watering Planters
Plants thrive on consistent moisture but can suffer if they’re waterlogged. A semi-porous ceramic self regulates ideal conditions. Our favorite is the COSWIP planter. Runner up is XS Self Watering Planter by Wet Pot.
Best Soil for Tomatillo: Standard Potting Mix
Tomatillo likes a rich and moist root zone – so you are best off with a standard potting mix – we like this Organic Mix by Espoma.
Best Nutrients for Tomatillo: Herb Blend followed by Vegetable Blend
Tomatillo likes to start with nutrients that are high in nitrogen (with NPK numbers like 10-5-5). For this Herb Blend, we recommend: Joyful Dirt All Purpose
Once they are growing, it’s better to use plant food that is high in phosphorus and low in nitrogen (with NPK numbers like 4-10-6). For this Vegetable Blend, we recommend: Joyful Dirt Tomato & Herb
Best Light for Tomatillo: DIY or Soltech
There is a very small chance that you have the bright windows needed to grow these without a grow light. If you are looking for a higher-end option – we love the Aspect Light by Soltech. For a more affordable option, a DIY setup using a 24W Screw-in Bulb by Sansi with a Clamp Light and Mechanical Timer works well too. Check out our complete guide on a DIY setup for less than $40 or our buying guide for screw in bulbs.

There are no comments for this article. Be the first one to leave a message!