In nature, a plant will scatter hundreds of seeds in hopes that just one or two fall into the right place to grow into a mature plant. Indoor gardening flips this – by giving seeds the right conditions to sprout and set root, nearly every seed has a shot. This blog will give an overview of what’s exactly happening during germination, different seed sprouting tips for common edible plants (including when you shouldn’t start from seed), and how to store seeds to keep them viable longer.
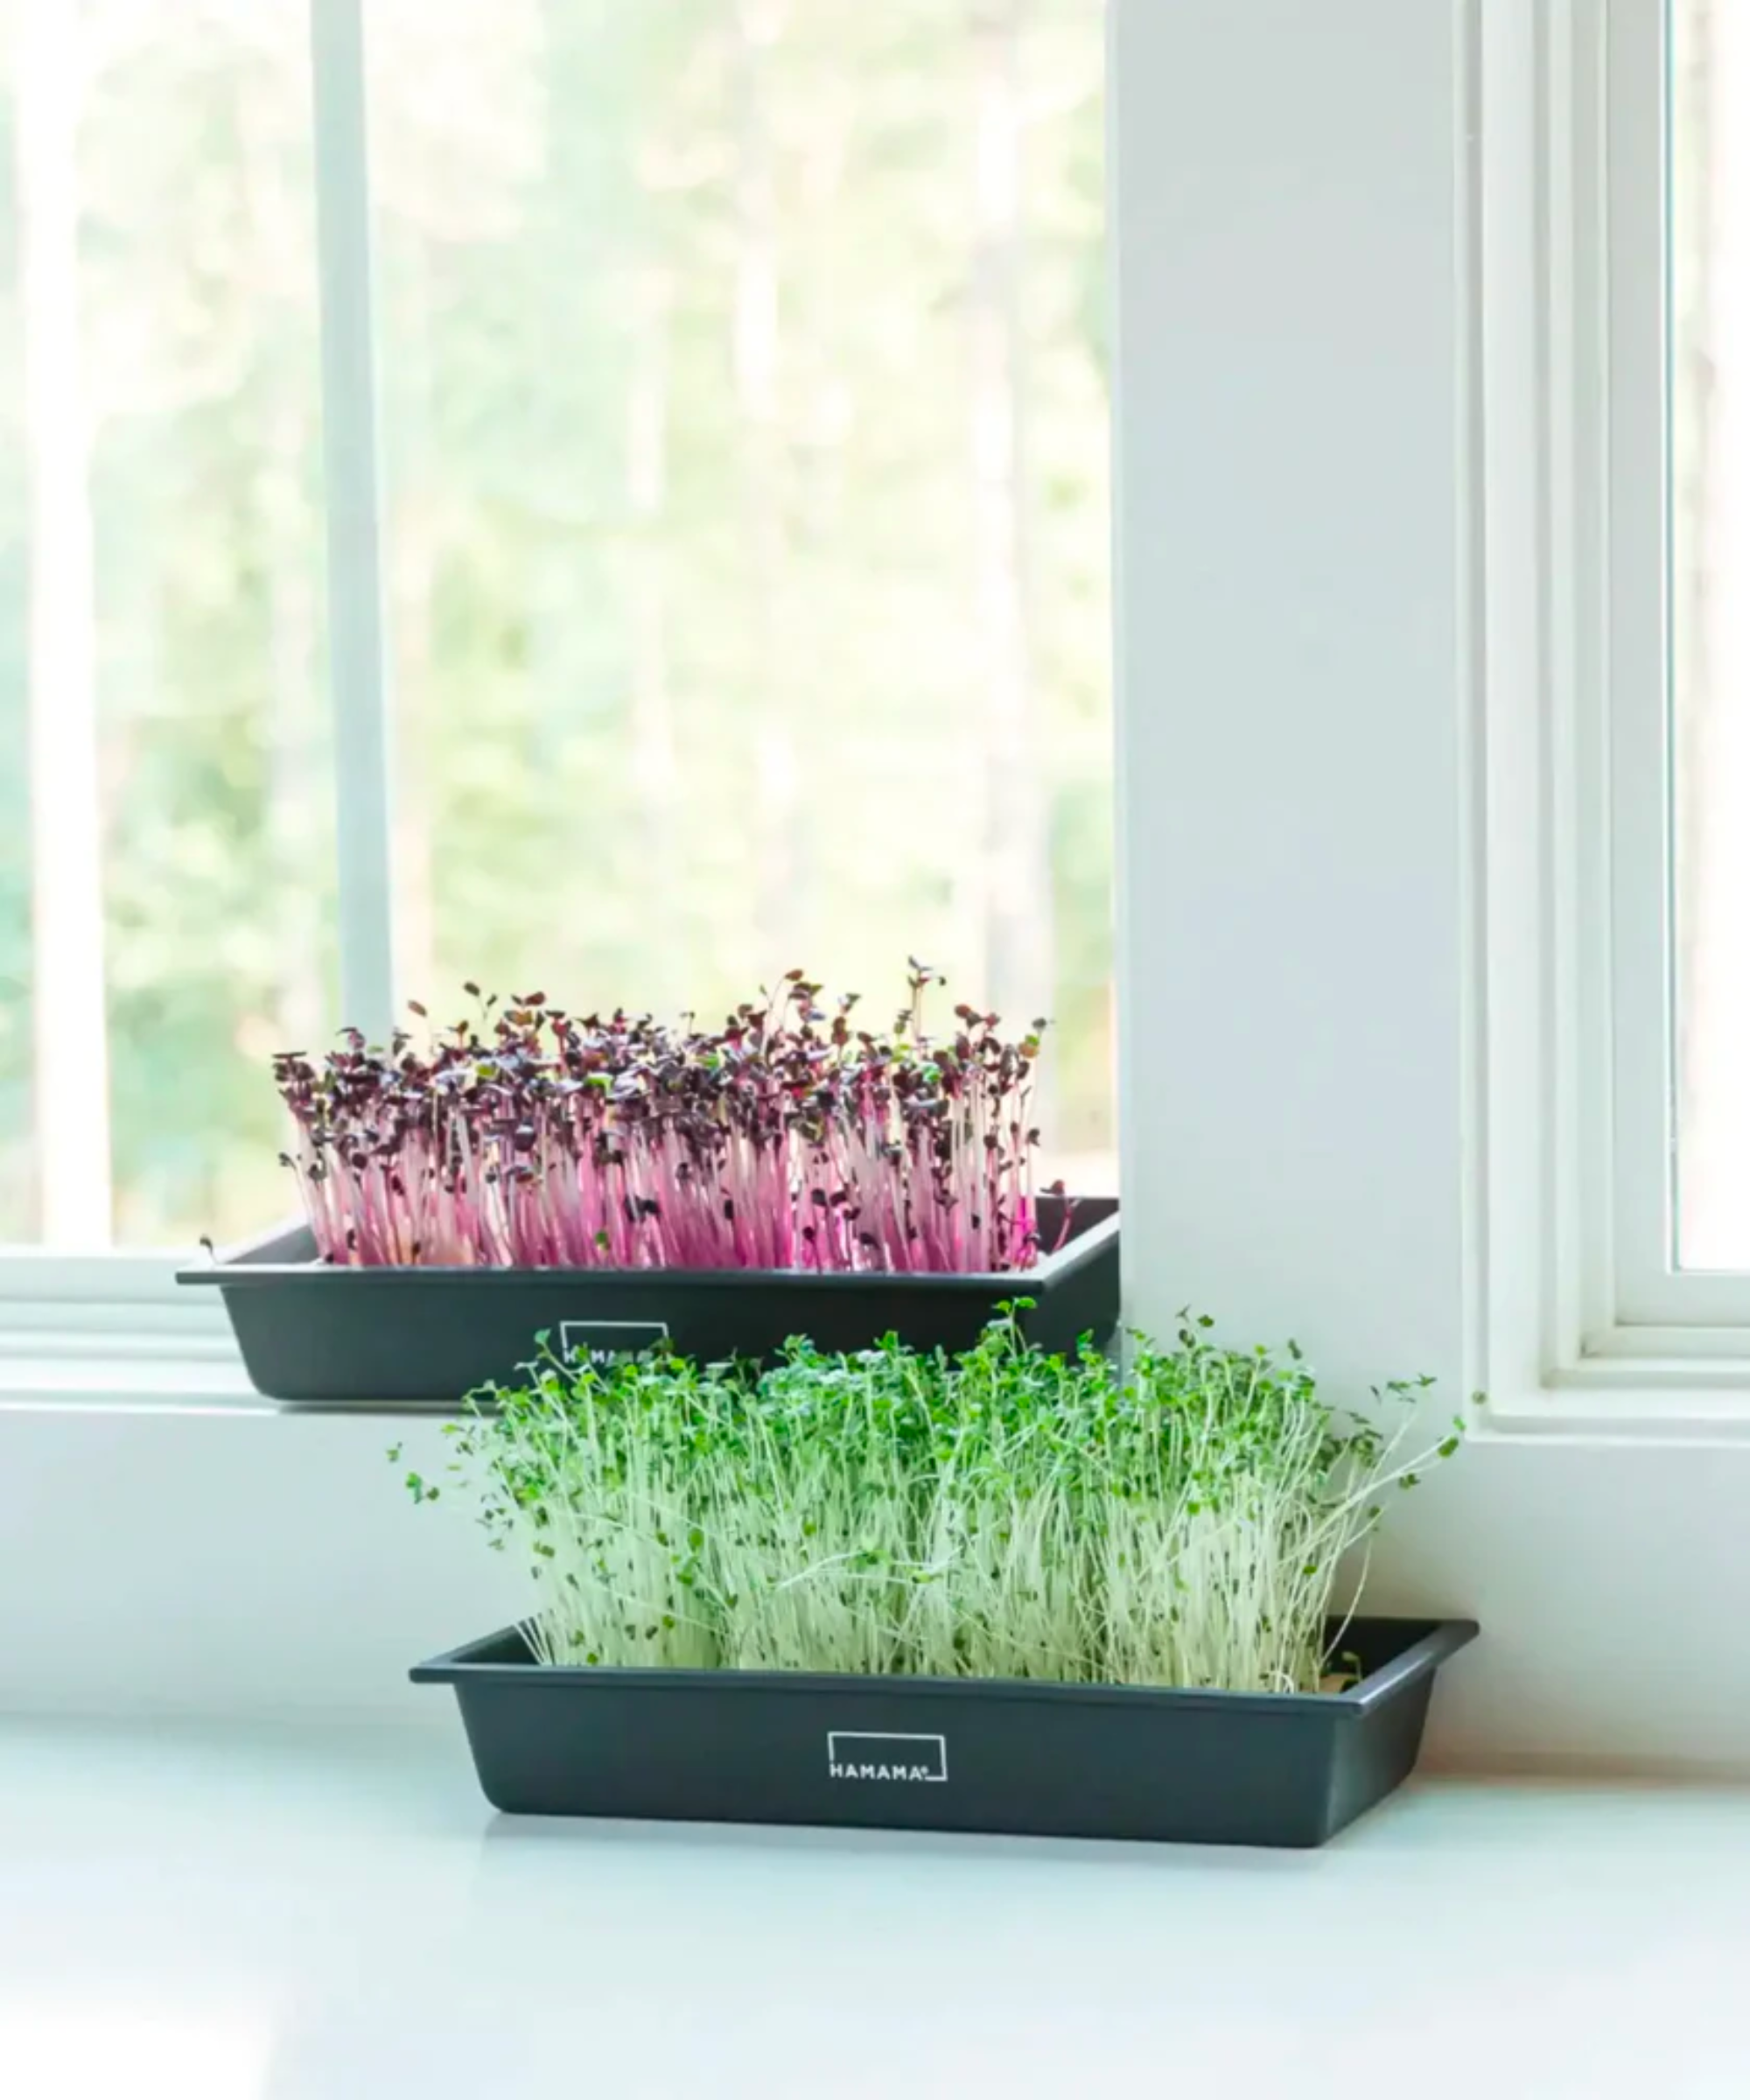
While most edible plants start with sprouting, our microgreens kit gives you a chance to germinate hundreds of seeds of several varieties in a couple of weeks. You’ll be amazed how quickly and easily you can bring the seeds to life and once you feel good about getting plants off to the best possible start, you can move onto more advanced skills like thinning, pruning, pollinating, and ripening.
How Germination Works
A seed already contains a tiny plant held inside of a protective shell – it’s just in a deep sleep. Germination is the act of ‘waking up’ the plant, allowing it to break free of its shell and start to grow, and can take anywhere between days and months depending on the plant. In nature, seeds will wait for natural weather patterns (like rain and warmer spring temps) to sense the start of their growing season. Indoors, where it’s always spring(!), we just need to give our seed the right “triggers” to get started.
Tip #1 for Seeds that are Not Germinating: The Importance of Water for Germination
Germination starts when a seed is given water – it washes off inhibitors (compounds that keep the seed asleep), loosens up the outer layer of the seed so it can break open, and hydrates food stored inside the seed for the plants early growth. In the first days, you’ll notice seeds swell or get a soft coating from all the water they take in – this is a good sign that things are in motion. While seeds need water, be careful as too much will drown them. Things like germination domes on top of moist soil help make a good environment of humid air, where seeds will stay hydrated, but not too wet.
Tip #2 for Seeds that are Not Germinating: The Importance of Temperature for Germination
Seeds have a fairly wide range of temperatures they will be able to sprout, and lucky for indoor gardeners, just above room temperature (70-80 F) works best for the most common indoor edible plants. It’s easy to get the extra warmth above room temperature by using the germination dome, which traps heat along with humidity. The main challenges for indoor temps are starting things by single-pane windows in the winter, or trying to grow one of the few seeds that need specific alterations between cold and warm.
Tip #2 for Seeds that are Not Germinating: The Importance of Light for Germination
Most plants aren’t fussy and will sprout regardless of if they are in the light or dark – as long as their water and temperature needs are met. However some seeds (typically very tiny ones) actually need light to sprout while others prefer darkness to sprout. Always follow the guidance on the seed packets – but a good rule of thumb that will give each seed the right amount of light is to plant your seeds twice as deep as their height.
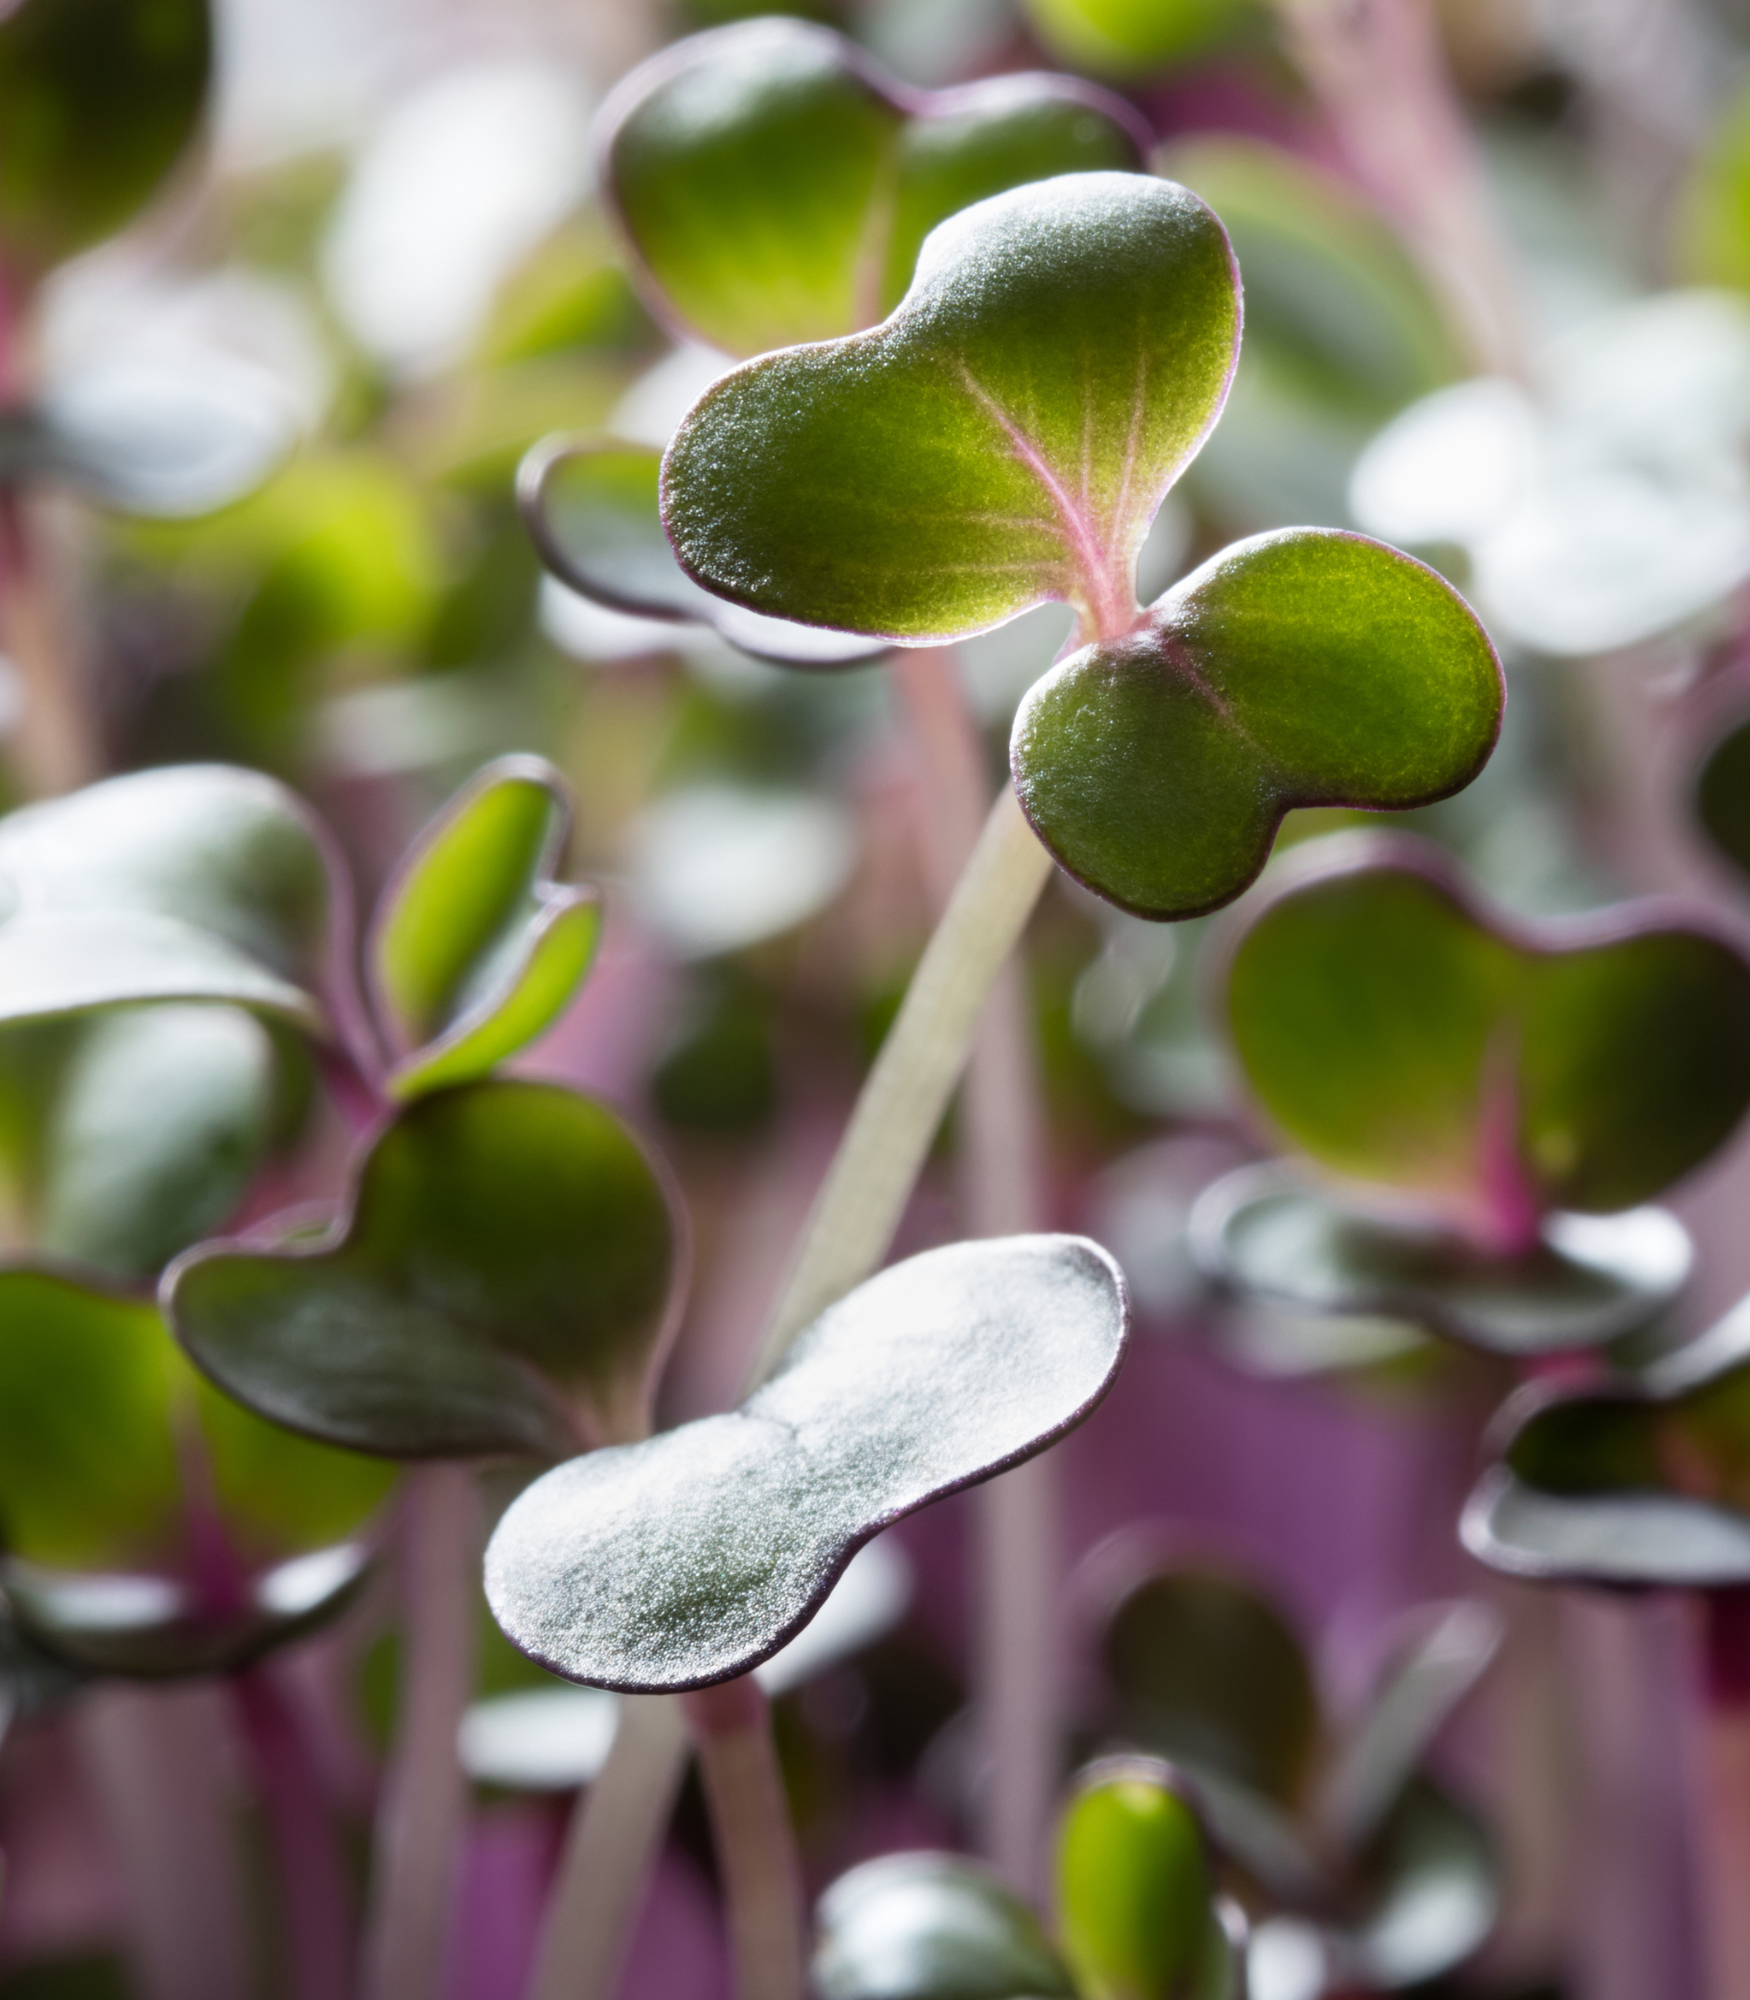
Different Needs for Different Seeds: The best way to start each plant.
![]()
Nature is flexible, and we like to keep things simple, so most of the time we go with direct sowing. However, there are some cases where presoaking or just purchasing a live plant actually makes more sense. The different strategies are reviewed below, along with our recommendation for the common indoor edible plants.
How to Direct Sow Seeds
Direct Sowing is when you plant the seeds in the same place that they will grow until harvest. Outdoors – this can have lower success rates as the soil needs to be kept consistently moist (but not soggy) but tends to dry out. However, indoor gardens with self-watering planters and germination domes easily keep ideal soil moisture and give the healthiest, least disruptive start to your plants.
When to Pre-Soak Seeds
Soaking your seeds for a few hours before directly sowing can give some plants (typically larger seeds) a couple of days’ head start. Not all seeds benefit from this, so be sure to check the seed packet and don’t soak them for more than 24 hours, as they will begin to rot.
Pre-sprouting Tip: AKA the Paper Towel Method
One effective pre-sprouting tip (which we don’t recommend for indoor gardening) has you grow the seed to its sprout stage and then carefully transplant it. While this avoids the challenges associated with direct sowing outdoors, it’s unnecessary indoors, and plants do better without the transplanting disturbance. Pre-sprouting should be strictly avoided for plants with delicate taproots, such as carrots and squash, as they can’t be transplanted.
When to purchase a live plant
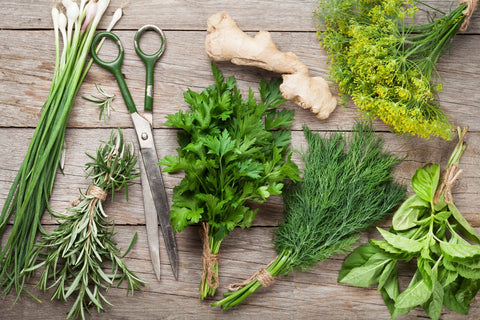
Purchasing a live plant costs a bit more and can bring in pests or disease, so for most plants it makes sense to grow them from seed, but in some instances we think growing from seed is more trouble than it’s worth. Specifically with:
- seeds that have very low germination rates (i.e. rosemary)
- Seed that have genetic drift & don’t grow true to type (i.e. mint)
- take a very long time to grow (i.e. thyme)
When to use Cuttings
Cuttings involve snipping off part of a live plant, placing it in water until roots develop, then planting it on its own. Not all plants will develop roots easily (or at all) with this method, but for the ones that do, taking cuttings is an efficient way to grow lots and lots of a certain crop.
| Best Plants to… | |||
| Direct Sow | Presoak | From Cutting | Purchase Live |
| Basil | Peas | Basils | Specialty Mints |
| Dill | Cilantro | Mint | Thyme |
| Parsley | Pepper | Lemon Balm | Rosemary |
| Radish | Tomato | Oregano | Strawberry |
| Carrot | Cucumber | Tomato | Sage |
How to store your seeds

Having fresh, plump, recently harvested seeds that have been stored well is your best bet for successful sprouting. Ideal conditions to store seeds are the opposite of their sprouting conditions – instead of hot and humid, they should be kept cool and dry. For most climate controlled homes, a drawer or closet works fine. If you want to keep the seeds viable for a long period of time, you could consider a sealed container in the fridge – just when taking it out, let it warm up for a couple of hours before opening to prevent condensation (AKA moisture!) on the seeds.
If you have any more questions that we weren’t able to answer on this blog, then come on down and join our Private Facebook Group where we have a community of indoor gardeners who might just be able to help you out with your gardening dilemma. We hope to see you there!


There are no comments for this article. Be the first one to leave a message!