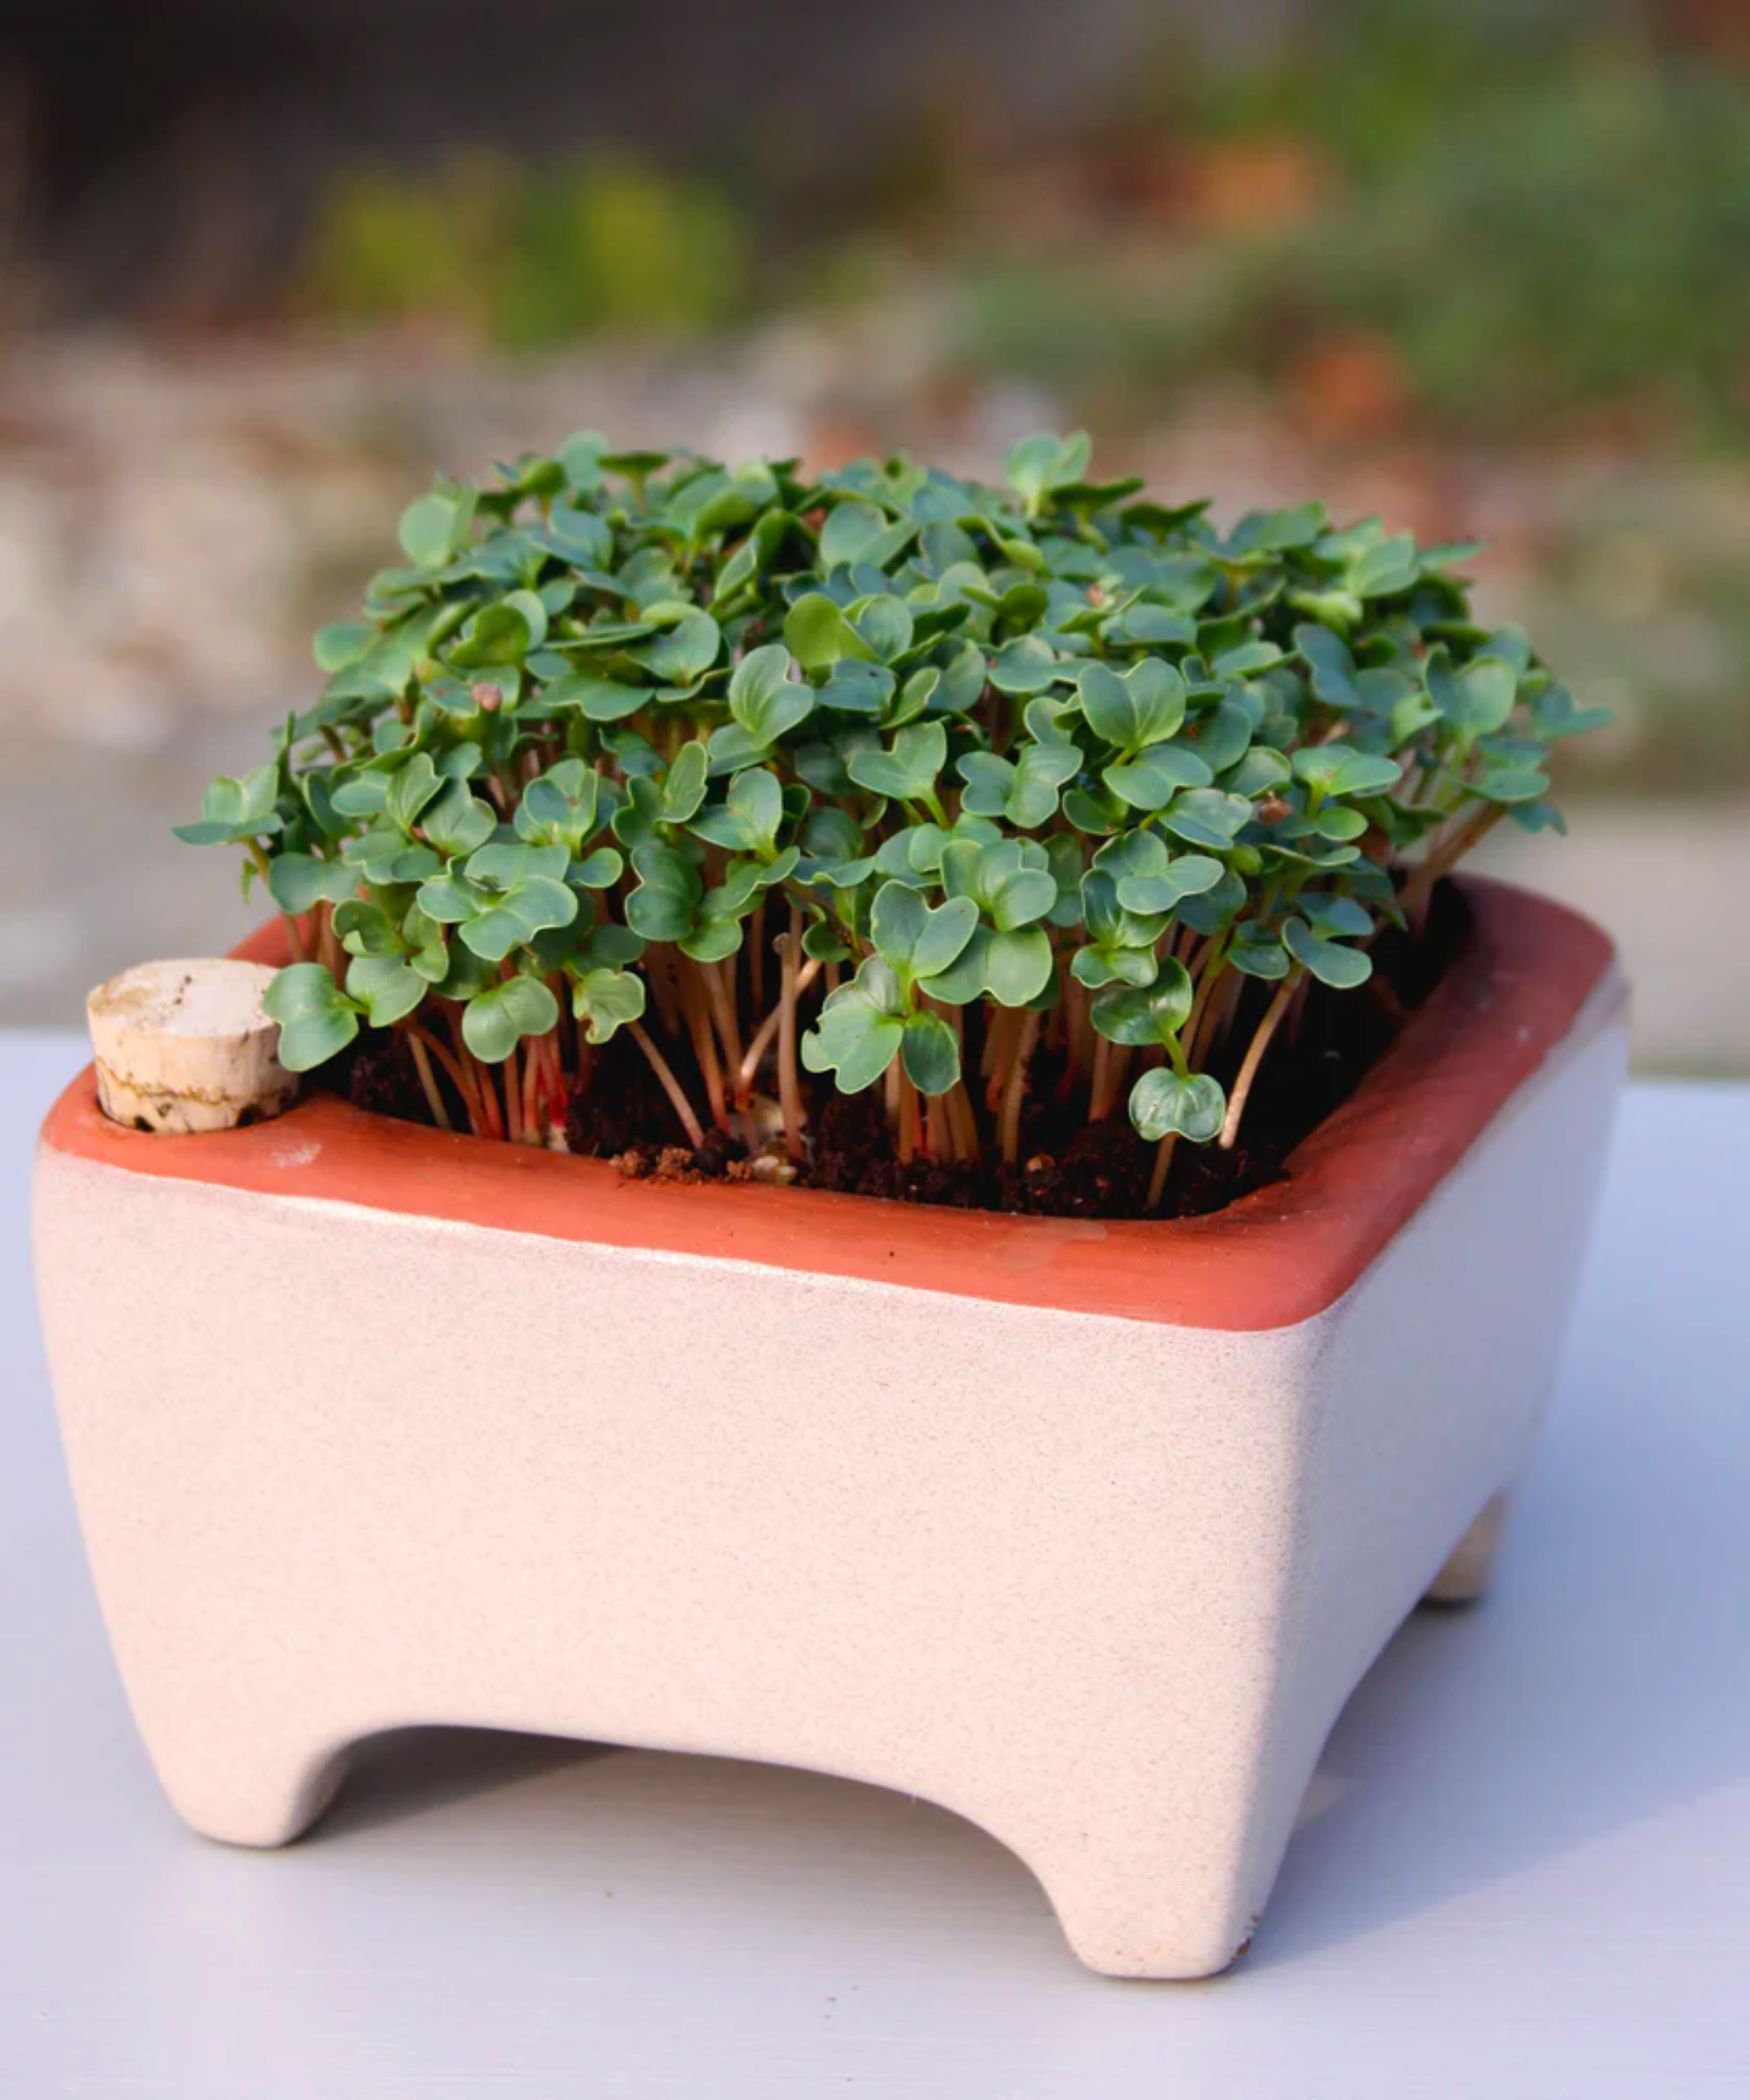
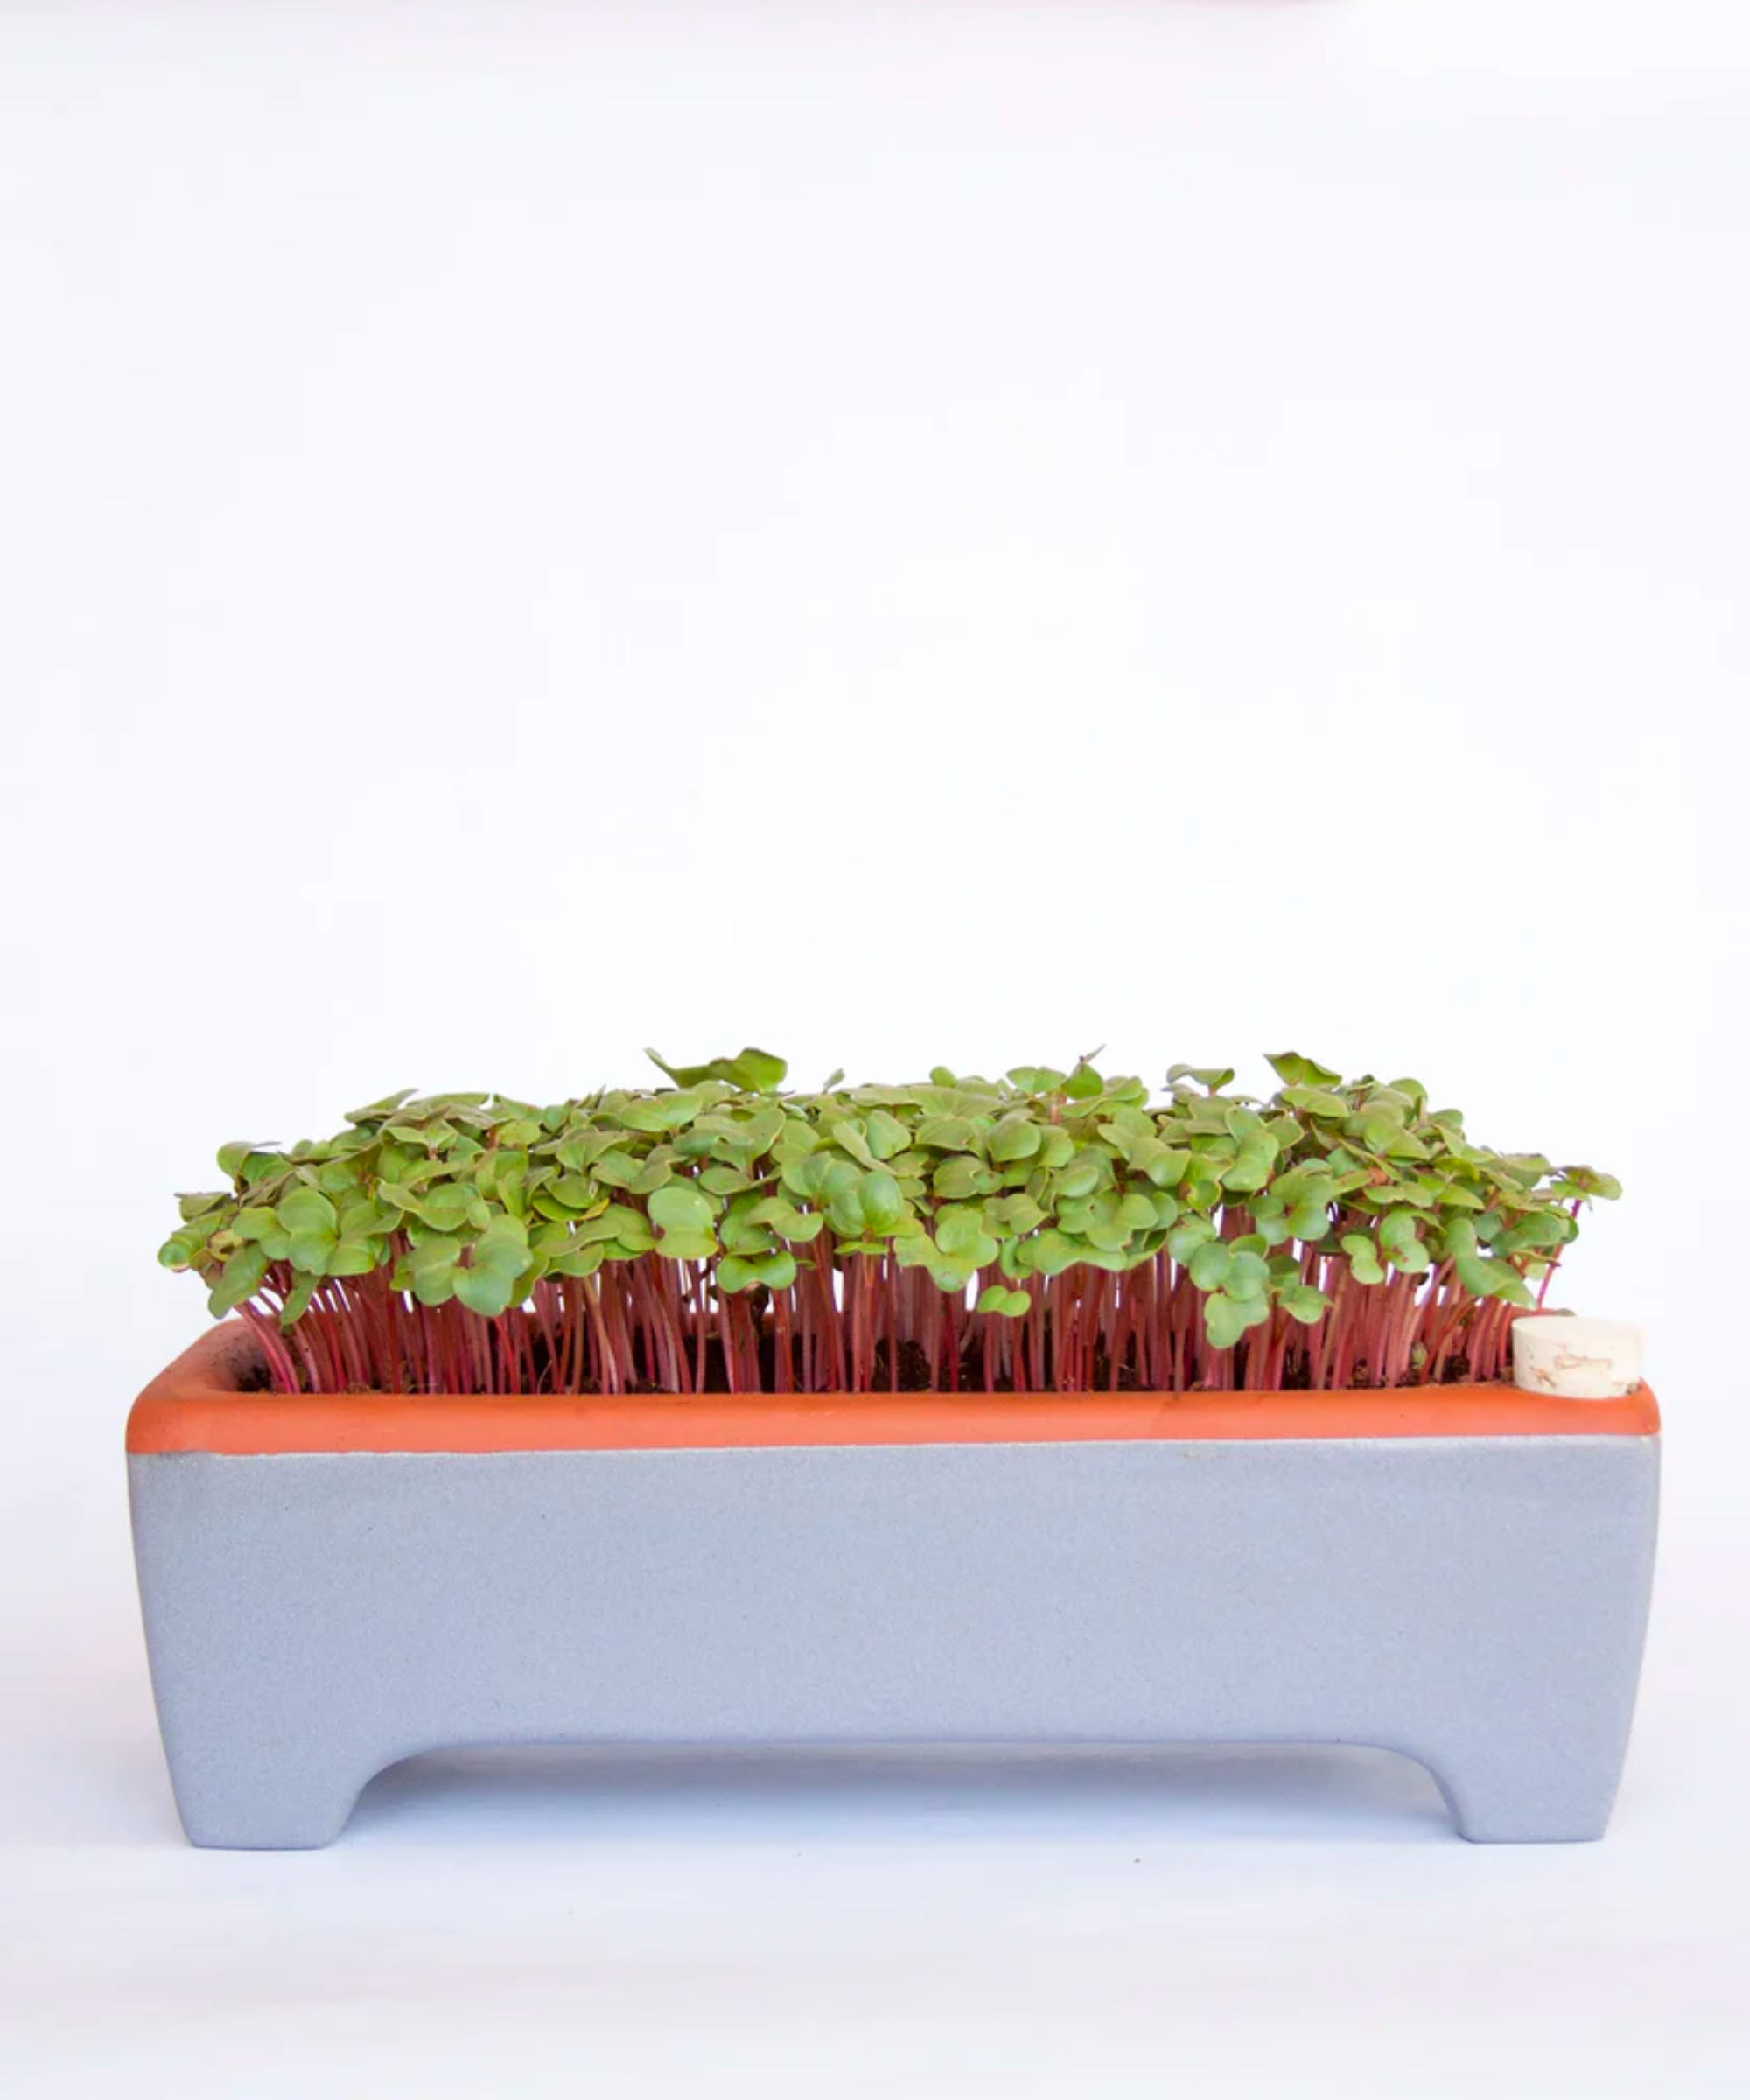
Large Self Watering Microgreens Kit & 1 Year Refills Bundle

Rating: 5.0 out of 5 (5)

$208.00

$260.00

From seed to home-grow-superfoods in just 7 days!

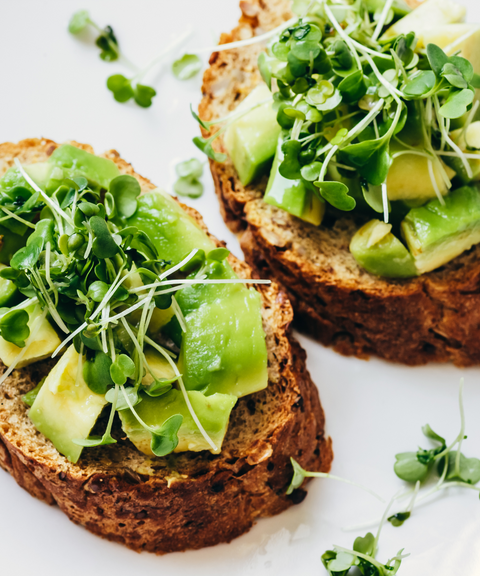
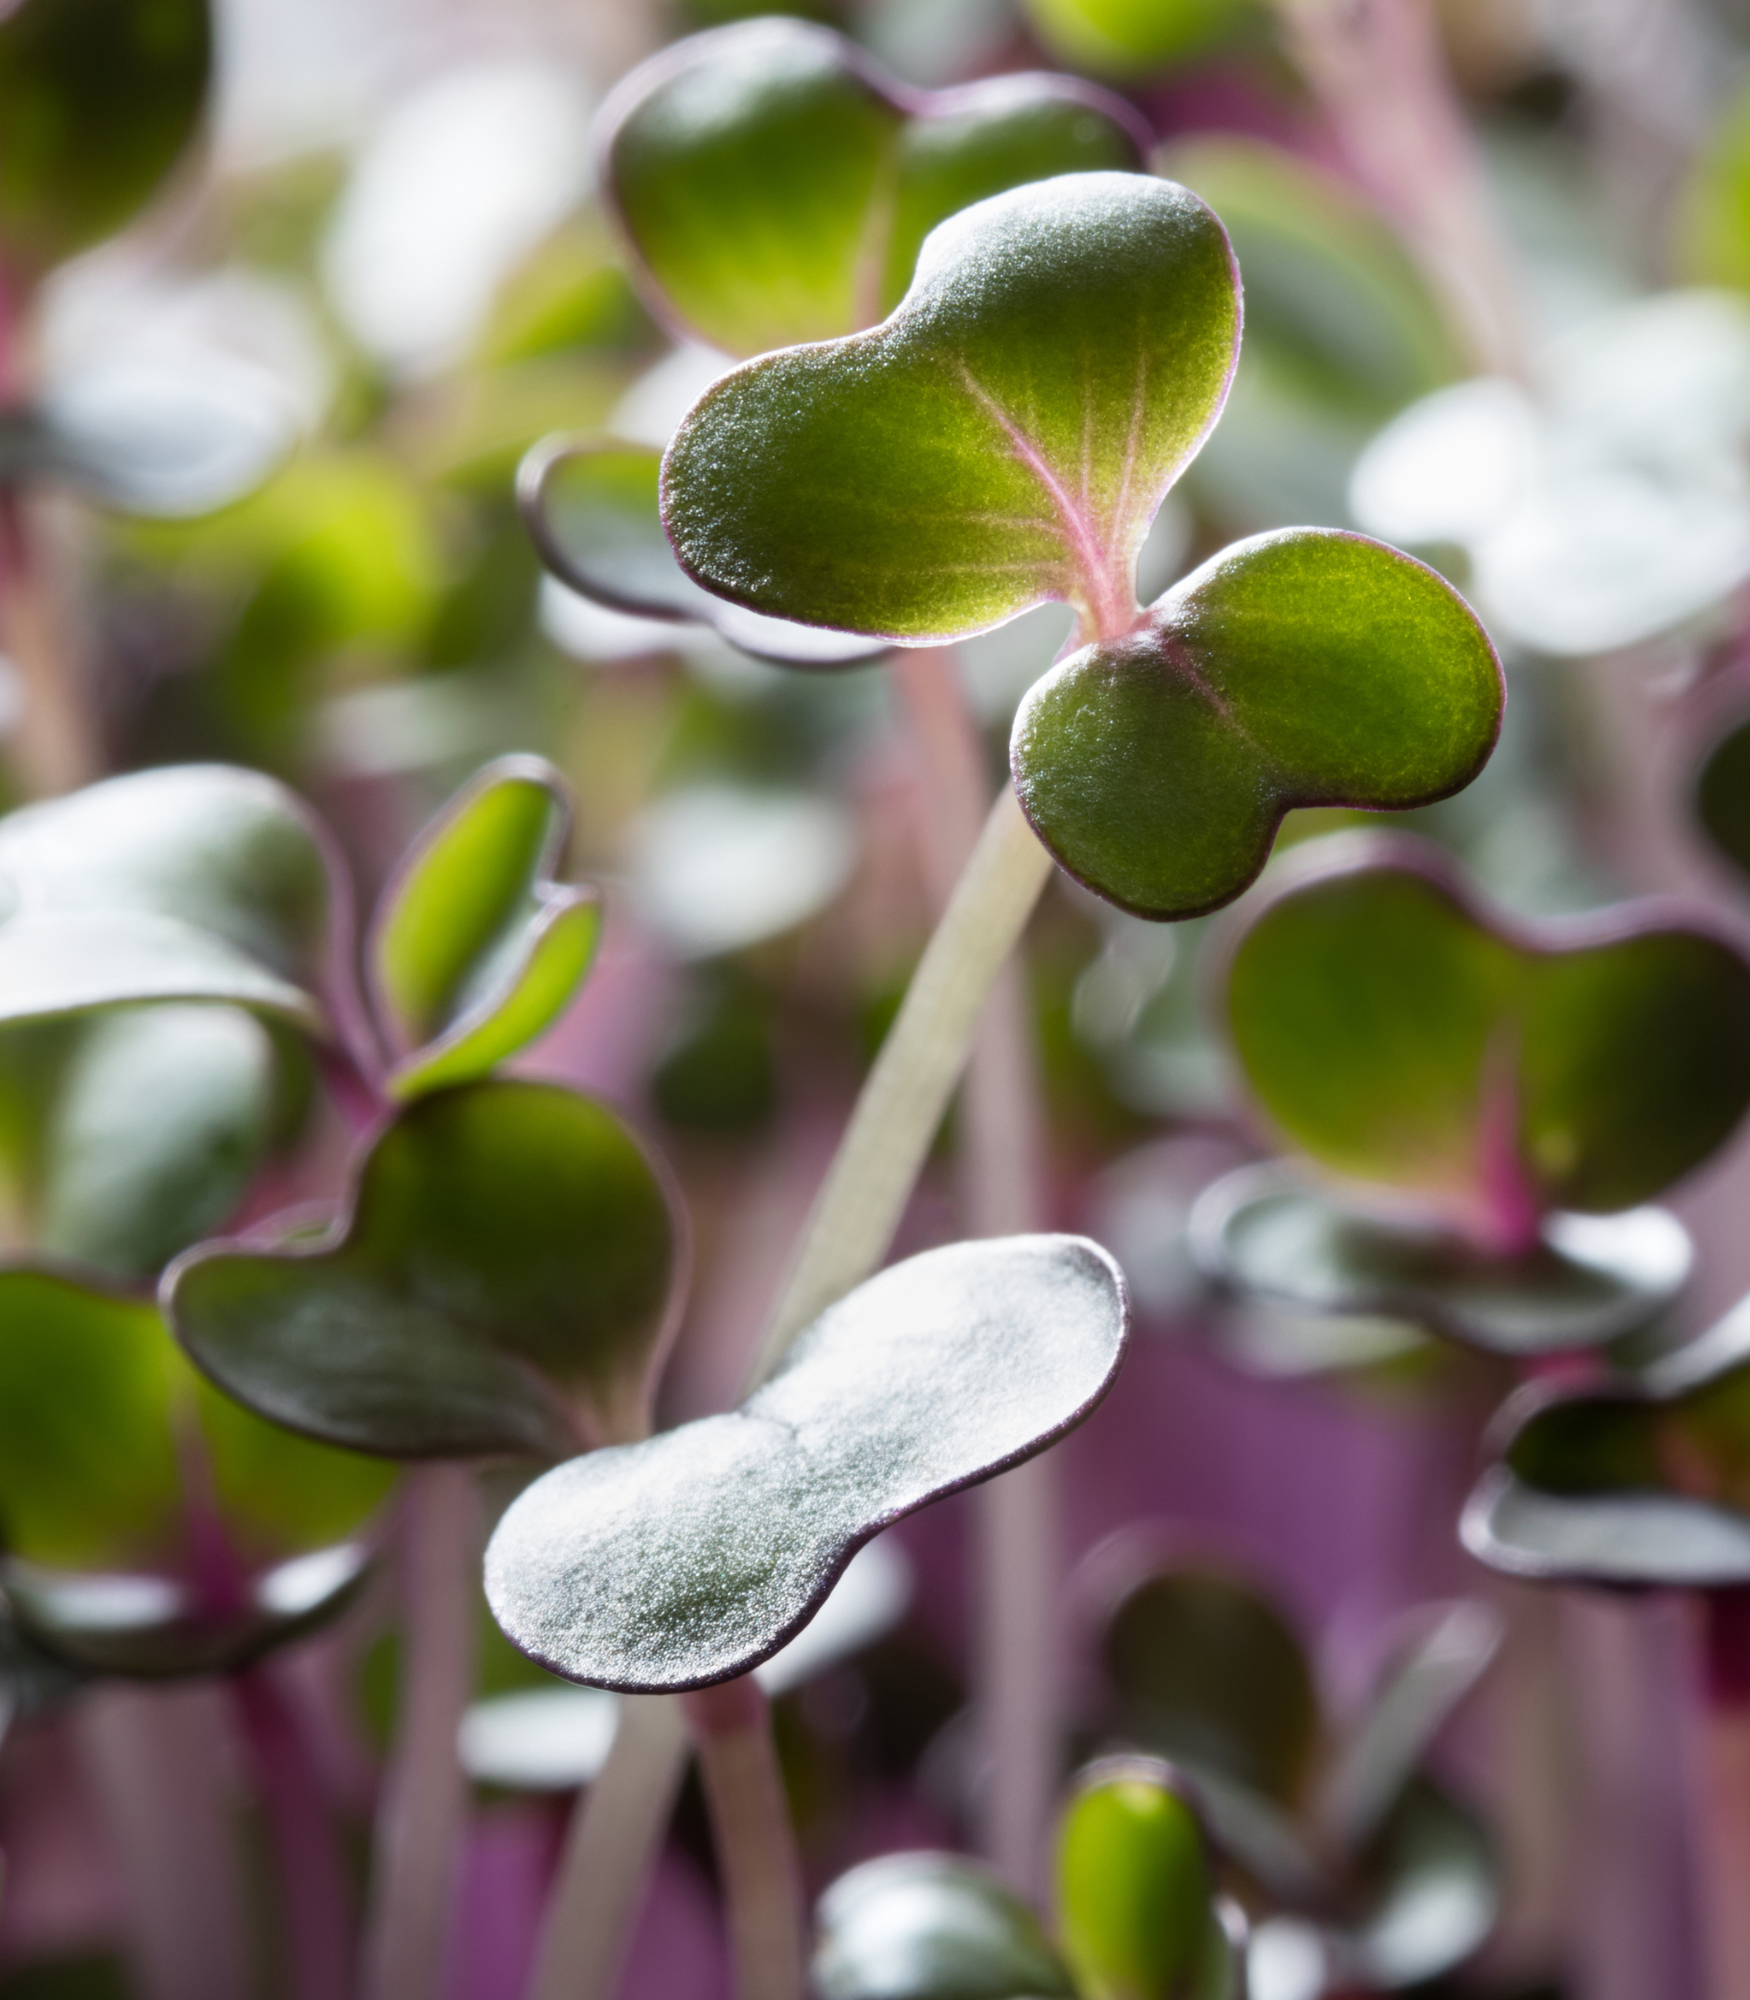
This gorgeous self-watering microgreens kit will ensure you never miss a watering day again. Enjoy a year-round supply of nutrient-packed microgreens for your salads, sandwiches and more. No prior gardening experience required, and requires very little light. 

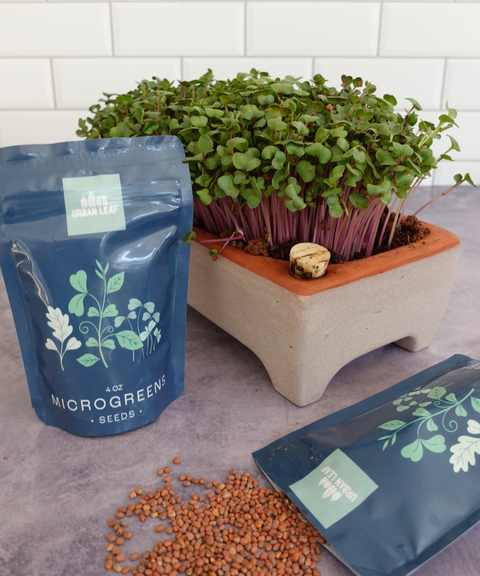
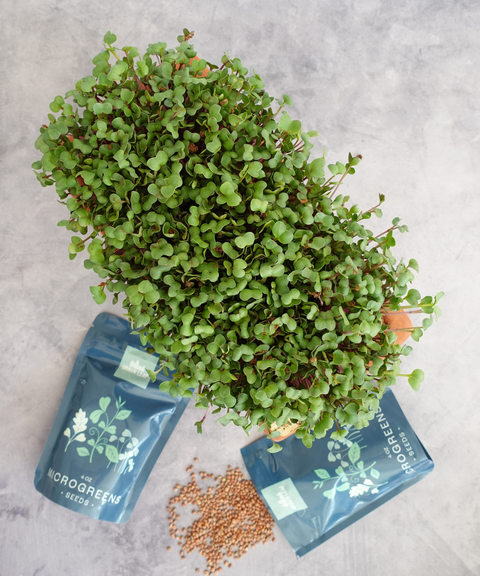
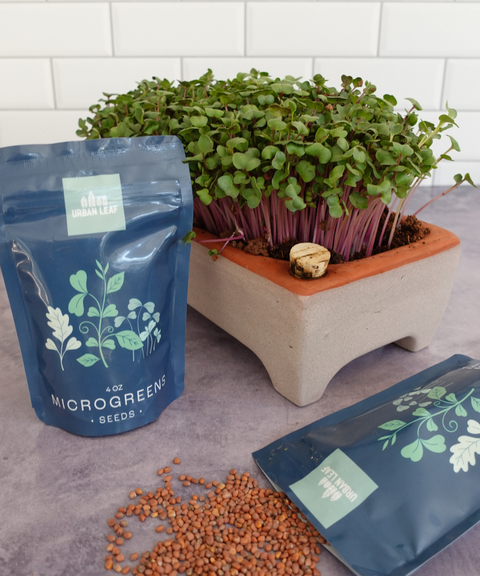
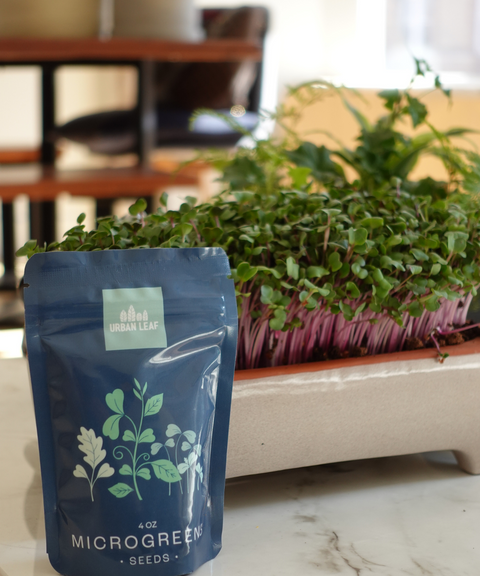
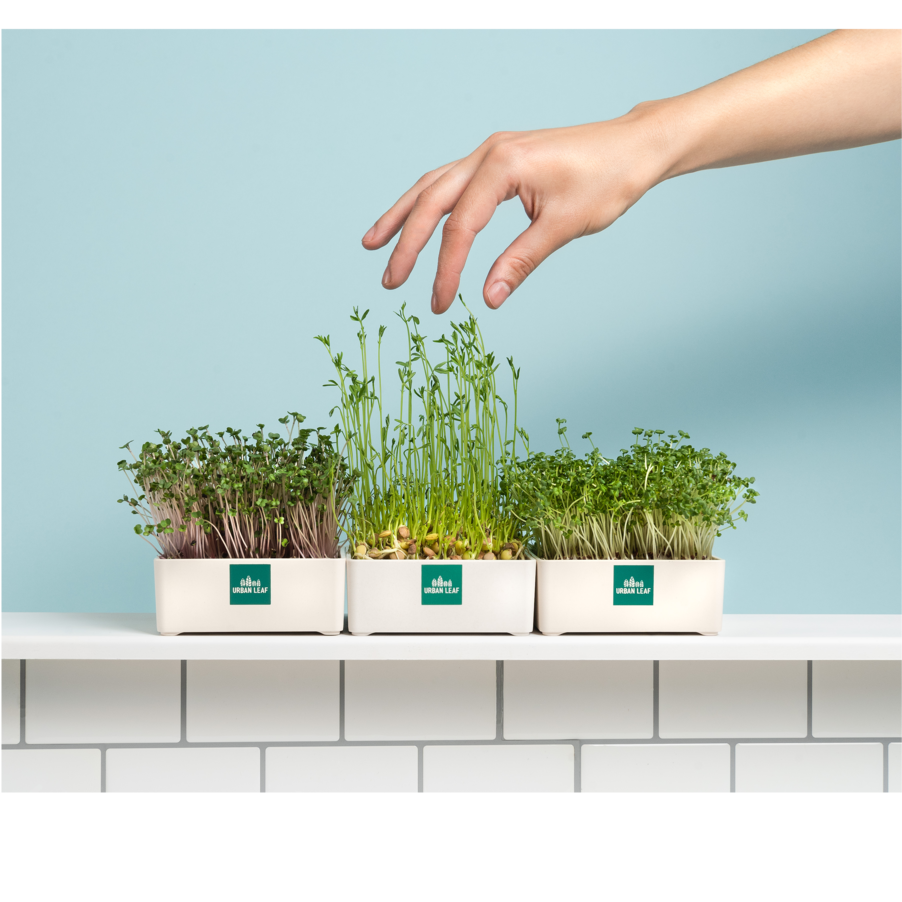
Pair it with 6 x 4oz bags of Urban Leaf microgreens seeds, and this bundle offers enough refills to keep you growing for an entire year! 

    Made In The US

    Recyclable Packaging

    Vegan

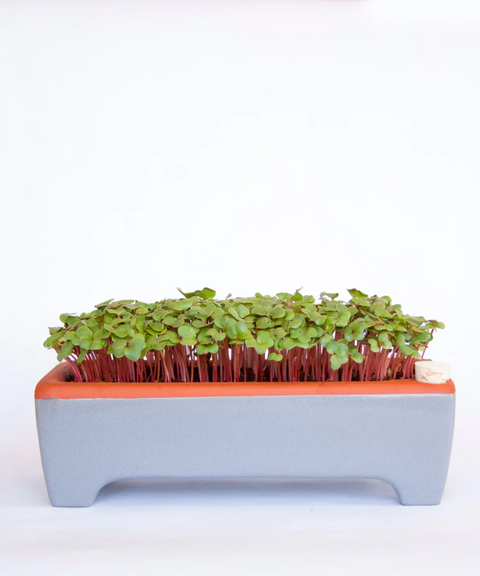
    • 1 x Large Terracotta self-watering and zero waste microgreens kit (which includes 4 small seed samplers)
    • 2 x 4oz bags of Radish Microgreens Seeds
    • 2 x 4oz bags of Mustard Microgreens Seeds
    • 2 x 4oz bags of Lentil Microgreens Seeds
    • 48 x compressed soil discs (you'll use 2 per planting)
    • 1 x Illustrated instruction cards that show you how to use your kit for microgreens, veggie and flower starts, herb cuttings, succulents, and seed saving.

    This microgreens kit is free from barium carbonate, comes with plastic-free packaging, and is made by hand in California by a female-owned business. The included microgreens seeds are US-sourced and come with recyclable packaging.

    This kit offers a way to grow microgreens with zero waste. The soil/root mat is 100% compostable.

    A small amount of light - either sunshine or daylight (doesn't need to be direct, or intense)

    Hydrate

    Hydrate the included soil, and fill the tray with the soil

    Seeds

    Sprinkle seeds, covering with a light layer of leftover soil

    Fill

    Fill the reservoir with water

    Harvest

    Place in a room-temperature location and wait 7-10 days

    Which Microgreens Kit Is Right For You?

    Growing Methods hydroponic Hydroponic hydroponic soil soil hydroponic
    Growing Medium Proprietary ‘seed quilts’ made from coconut fiber Virgin fluff fibers produced from non-chlorine bleached spruce wood none coco coir coco coir Jute matt
    Includes a light no yes no no no no
    Included seeds 2 varieties - varies 3 varieties Red Cabbage, Radish and Mustard none 4 varieties. Radish, Arugula, Beets and Tatsoi 4 varieties. Arugula, Beets, Komatsuna and Radish 6 varieties. Radish, Kale, Rainbow Mix, Mustard, Spicy Mix and Broccoli
    USDA Organic Seeds? Some, not all Yes NA No No Yes
    Grow Area 1 x Large 3 x Medium 1 x Medium/Large 1 x Small 1 x Medium 3 x Small
    Refill Cost $$ $$$ $ $$ $$ $$

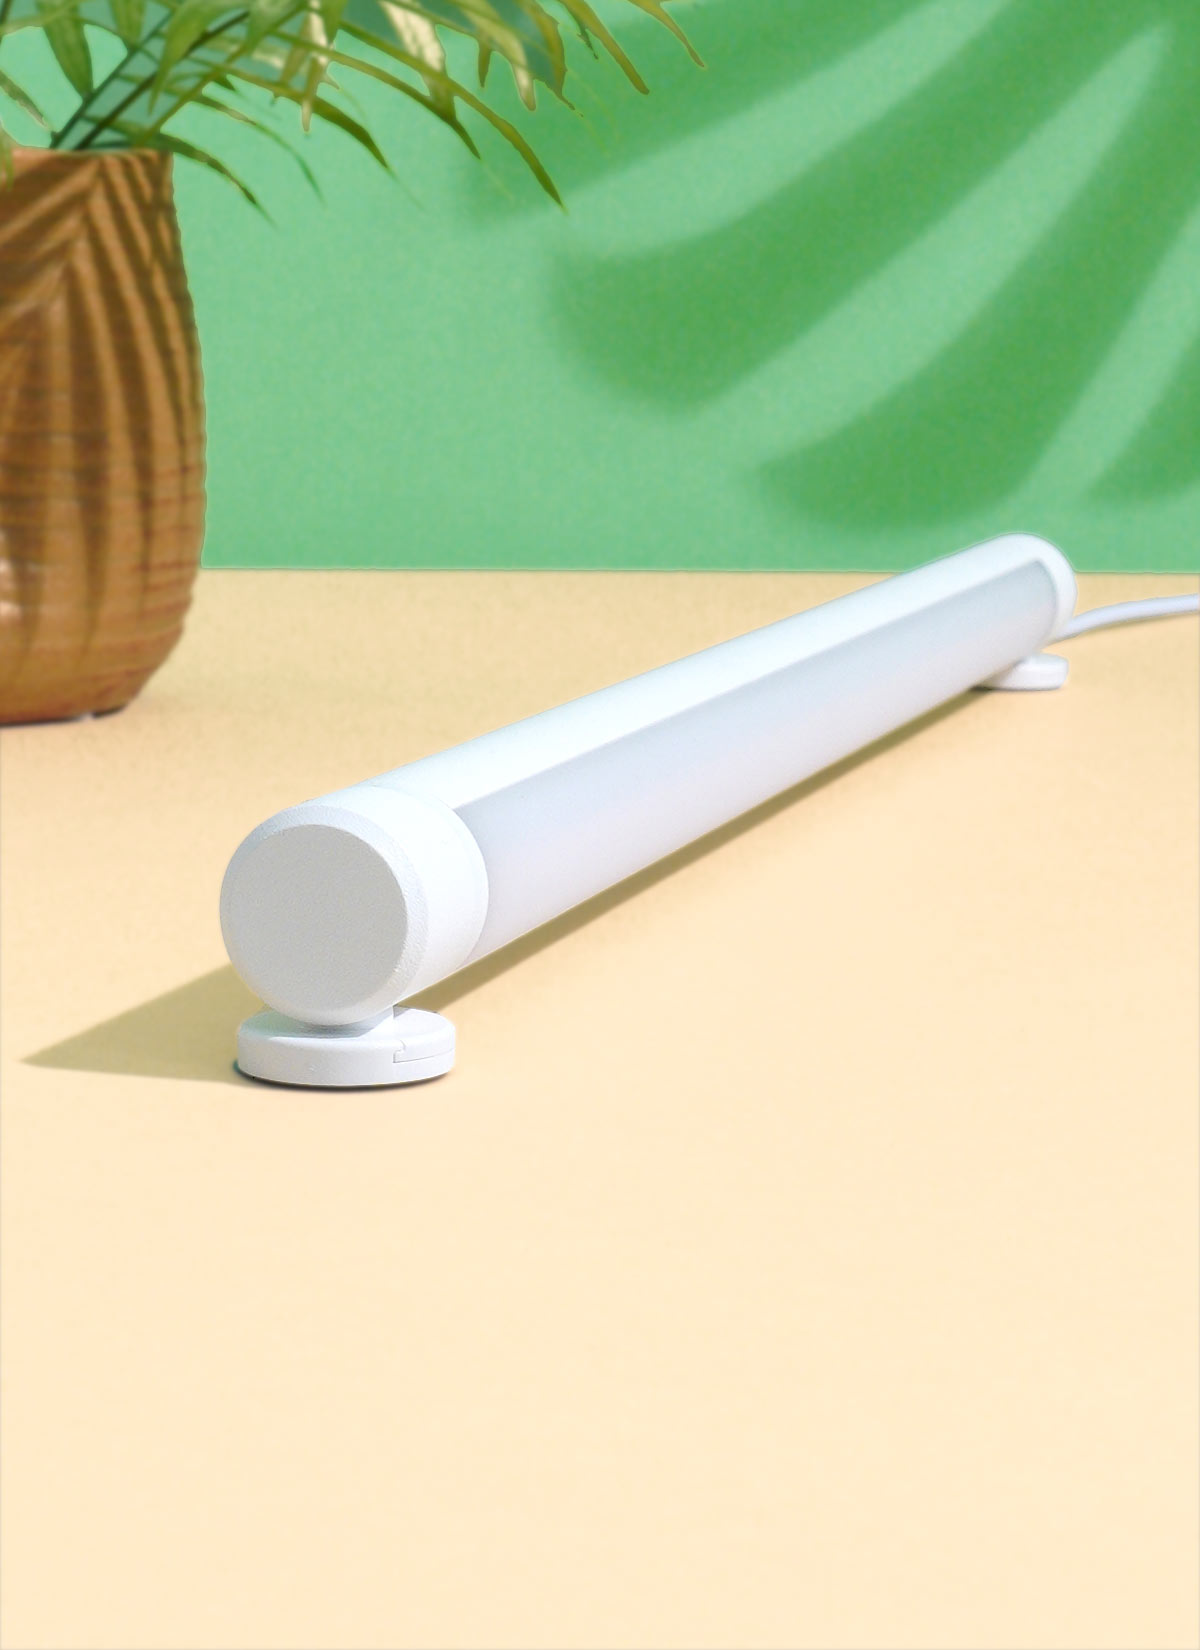
    Which Grow Light Is Right For You?

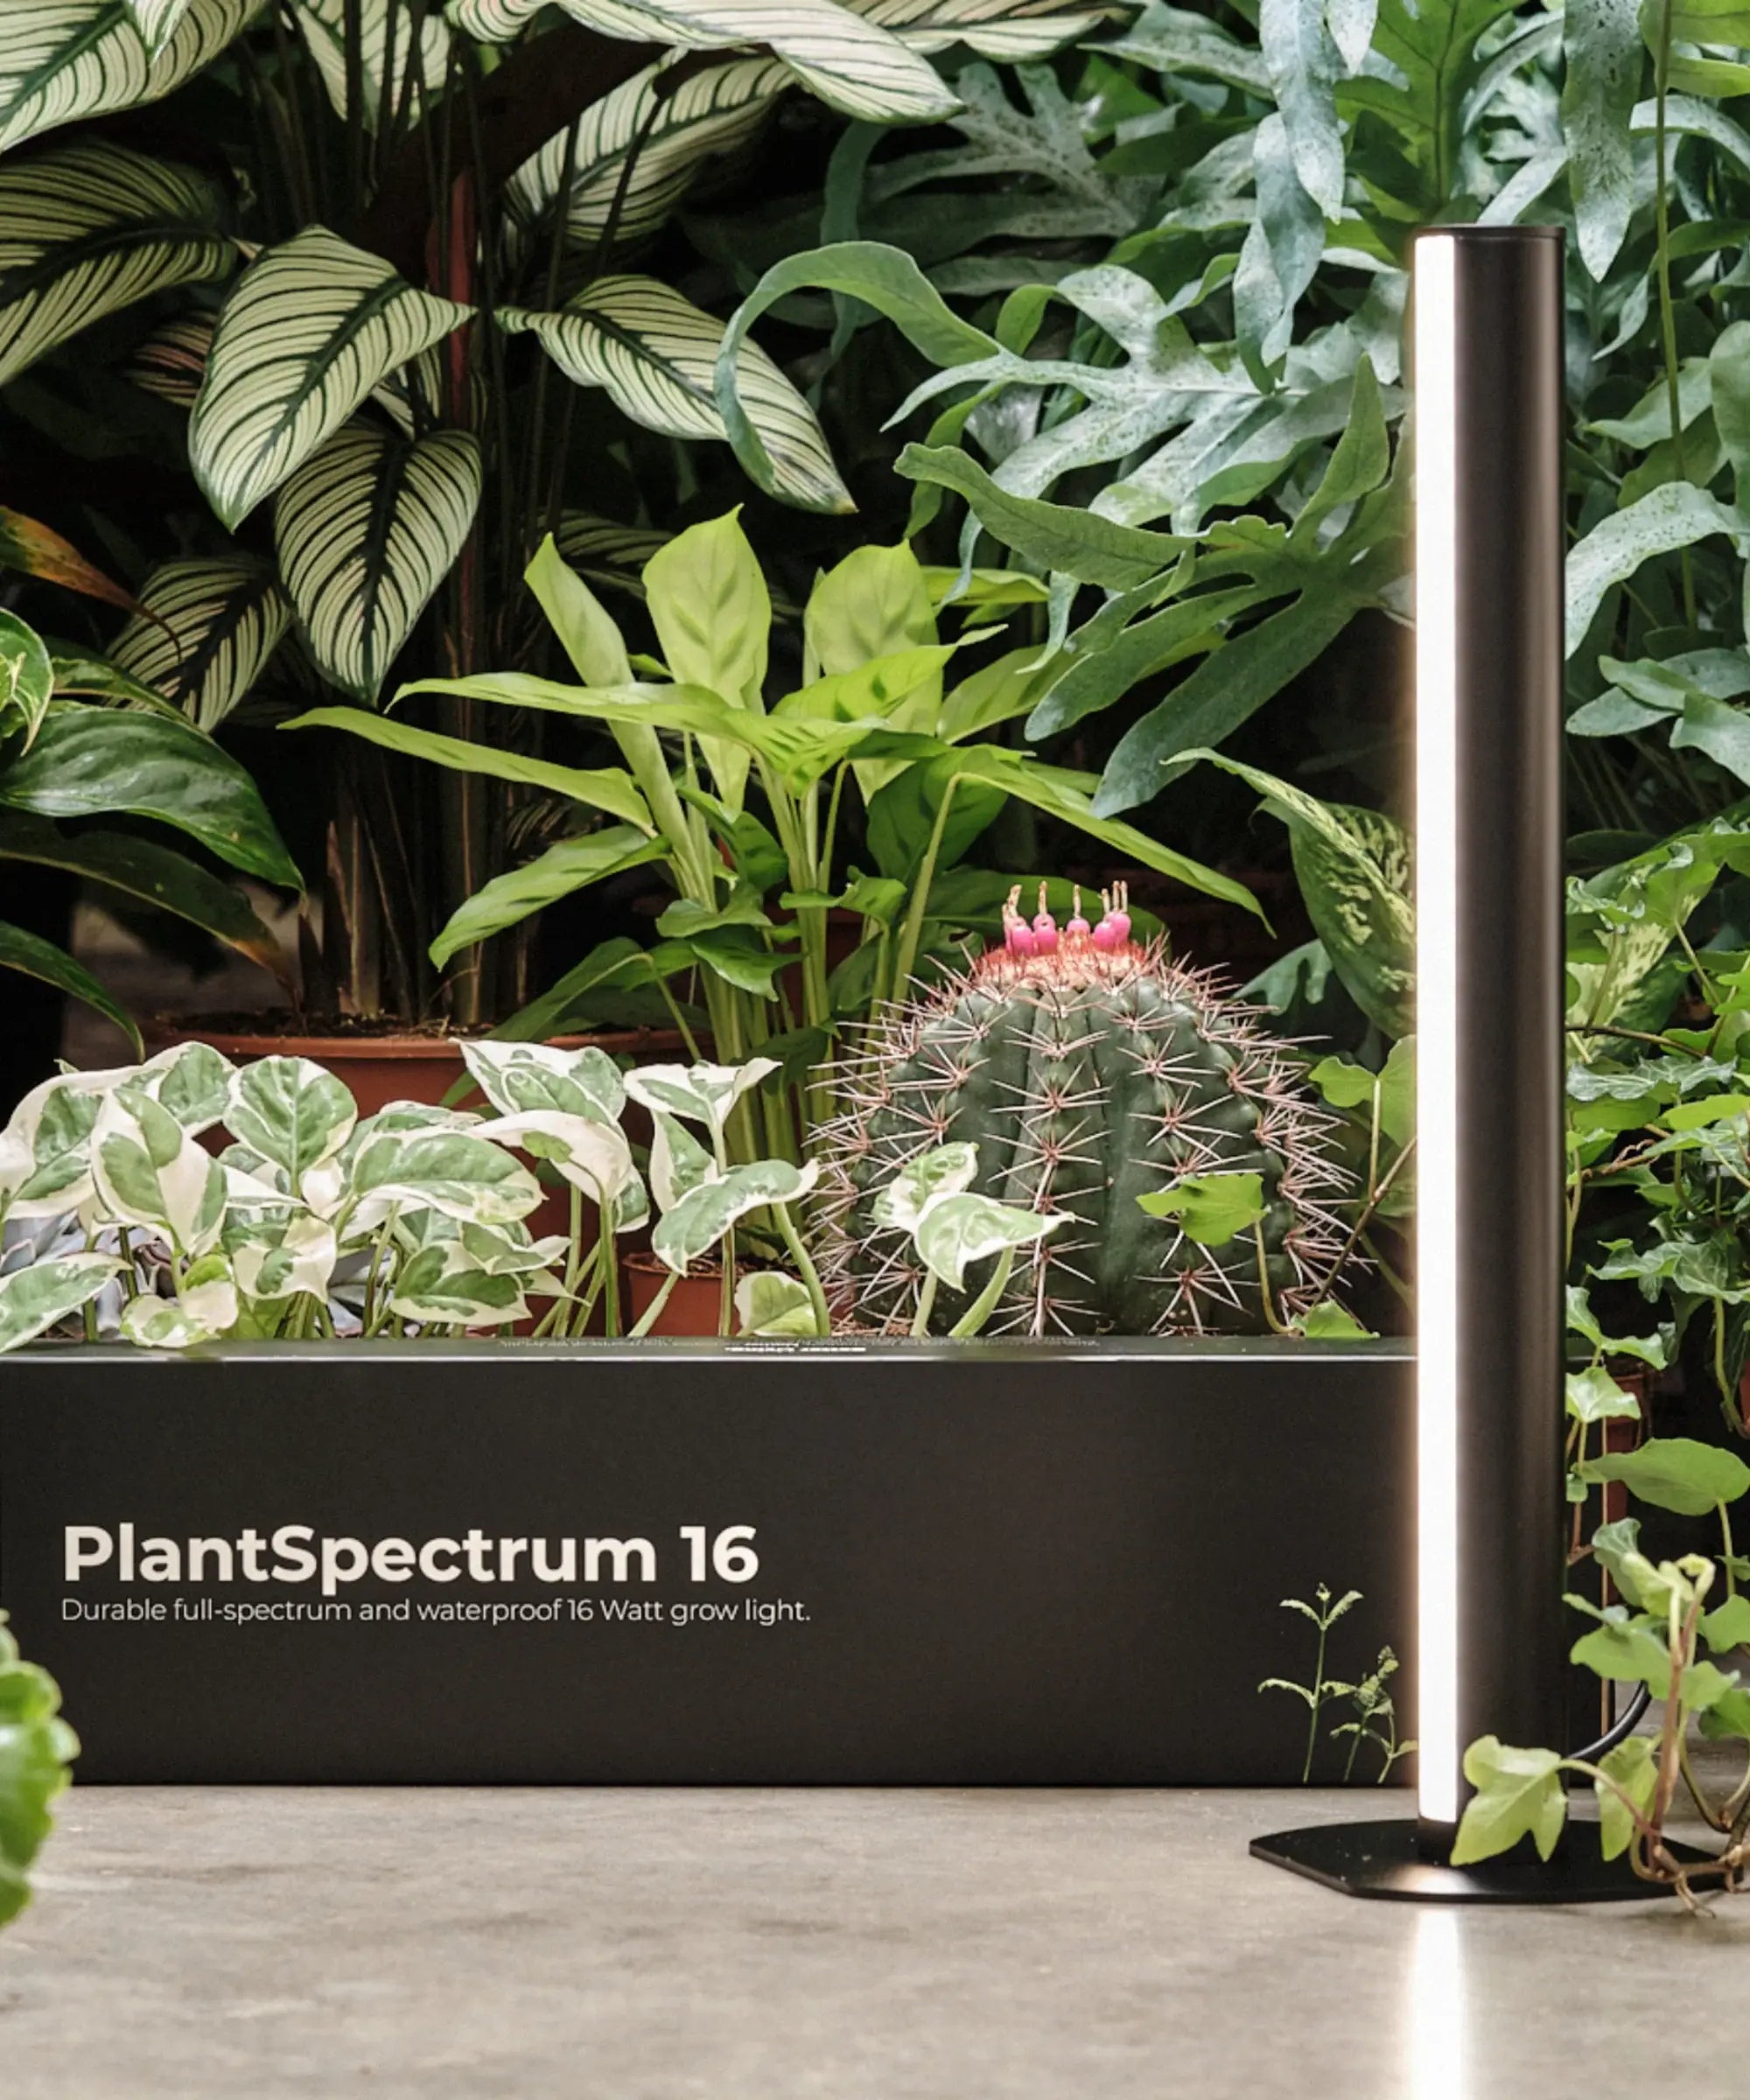
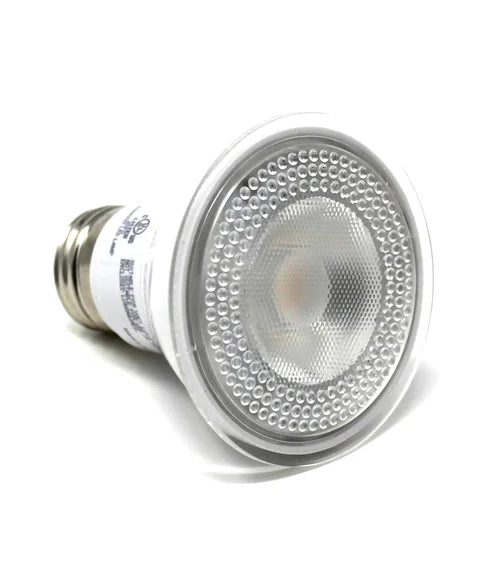
    Wattage 20W / 40W 20W 11W 16W / 32W 7W
    PPF Small: 23.7 μmol/sec; Large: 42 μmol/sec 25.95 μmol/sec 17 μmol/sec - 7.3 μmol/sec
    Efficacy (PPF/W) 1.05 - 1.2 1.3 1.55 - 1.05
    Color Temperature 3000K 3000K 3000K 3914K 2700K
    Mounting Hanging from wall or ceiling Inside a pendant or desk lamp Under cabinet or on a wall Under cabinet, wall or vertically Inside a pendant or desk lamp
    Suitable For Anything Anything Houseplants, Herbs, Leafy Greens Anything Small herbs, seed starting
    Water Resistant No No No Yes No
    Cost $$$ $$ $$ $$ - $$$$ $

    Check Out Some Of Our Other Products

    Share your best answers

    Check Out Some Of Our Other Products

    Share your best answers

    FAQs

    Because terracotta is porous, the water seeps from the reservoir through the terracotta walls to keep the soil evenly moist. Once the seedlings have roots, they can wick as much water as they need.

    Yes. Occasionally it's a good idea to sterilize your pot to prevent diseases and fungi. The easiest method is to scrub all the dirt off your pot with water and a brush. Then put your pot in the oven for an hour at about 180 degrees F (82 C), being careful not to go over boiling temperature (212 F, 100 C), as this can cause trapped water to turn to steam and crack open your pot. The "warm" setting on most ovens works well. It's a good idea to use an oven thermometer to make sure the temperature is right.

    We do not recommend bleach or any other chemicals to clean your pots. 

    These microgreens kits are best suited for herbs or vegetables grown as microgreens (i.e. harvested within 1-3 weeks). If you're looking to establish seedlings for eventual transfer into a larger pot, or the garden, then you might like to consider the seed-starting trays from the same supplier. These have dividing walls between the seedlings, making them easier to remove.

    Not much. The water is completely contained in the reservoir, and can only escape by passing through the terracotta walls of the plant pockets. Depending on the weather and your seed-starting mix's absorbency, small amounts of water can seep through the mix and /or condense on the outside of the pot, causing damp "footprints." But no, water should never come out in any quantity.

    Your pot is likely broken. Please contact us right away and we can help you determine the cause. There is no charge to replace pots that have been broken in transit.

    Customer Reviews

    Based on 5 reviews
    100%
    (5)
    0%
    (0)
    0%
    (0)
    0%
    (0)
    0%
    (0)
    T
    Tori M.
    Microgreens

    I received my micro green kit and decided to try two seeds at once, arugula and radish. I was so pleasantly surprised to have to my greens appear lush and full 5 days later.

    Thank you so much!!!

    K
    Kathy
    Fun + Yummy!

    I've had my Microgreen Kit for a couple weeks and not only is it super easy to use, but the first batch of seeds sprouted so quickly and are delicious! The terracotta planter is so pretty and packaging of the products is very 'green' and thoughtful, a lovely addition to my windowsill. So happy I discovered Orta - will definitely spread the news! Thank you :)

    M
    Melody
    Water Just Once A Week

    So, I can't keep plants alive, much less grow them from seed to plant, and this has been amazing! Running out of produce at the store gave me the final push to try growing this kit I had sitting from Kickstarter. The kit literally comes with everything you need and provide plenty of instructions on cute postcards. Just to be in the safe side, after rinsing the pot I put it in my toaster oven without the cork, 160F for 30 minutes. Followed the instructions, but instead of using a whole seed packet I created little rows of each type. I recommend only lightly spraying the soil so the dirt sticks to the seeds: Orta's terracotta does a REALLY good job wicking in moisture from the reservoir, so you don't want to drown the seeds. Now, I was worried for a bit about the seeds and soil because this kit was like, 3 years old. But in a couple of days I saw the little sprouts come up and in less than a week, suddenly yummy greens! I live in the desert so there's practically no humidity around, but I only needed to top off the reservoir once a week. The soil doesn't even cake onto the microgreens. As the plants grow, the top soil dries and flakes off, so you have fresh and ready greens. I was so happy with the results that I took a chance and have since grown other trickier greens in the pot. I keep telling my friends that this is totally failproof: After sowing, just top off with water at the end of the week!