With so many different options and an increasing number of kits out there to choose from, it's easy to get overwhelmed with the idea of growing microgreens before you even get started.
We’re here to help explain the basics, and provide you with the key information you need to successfully grow microgreens at home.
By the end of this article, you’ll know exactly what’s required and be ready to start growing and enjoying your own microgreens immediately. Plus, if you’re interested in learning more about the benefits of microgreens and different ways to use them, be sure to check out our separate blogs on these topics below.
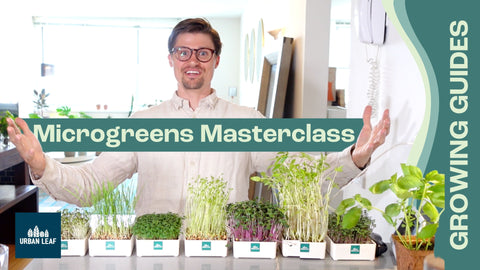
This blog is also available as a YouTube video titled ‘How To Grow Microgreens COMPLETE Guide: Setup, Soil vs Hydroponic and Without Soil plus Recipes’.
How To Grow Microgreens
As the saying goes, life finds a way, and, true to that, microgreens grow well in many types of setups. Some methods are faster, some are cleaner, and some are cheaper, but all offer ‘correct’ solutions to growing happy microgreens. Most microgreen setups have the following in common:
1) have something for the microgreen roots to grow into
2) some way of keeping the microgreens seeds moist until they sprout.
Our own journey into the world of microgreens started by reviewing all of the most popular techniques, which we will explain further below.
How to Grow Microgreens in Soil

One of the most commonly recommended ways to grow microgreens at home is planting them in soil, compost, or coco coir.
Assuming you are covering the microgreen seeds in a thin layer of soil, then this method may not require a lid. Although if you’re just scattering seeds on the soil surface, then a lid is a good idea to trap humidity to help with sprouting and germination.
Another benefit of growing microgreens in the soil is that you may already have some soil at home and can upcycle a container you already have. If this is the case, then growing microgreens in the soil can be a low investment way to get started.
There are however some major drawbacks of growing microgreens in soil:
- First, using dirt was… well, dirty. There was a lot of handwashing and cleaning during setup and after harvesting.
- Secondly, it also required a fair bit of work. Taking care of it was also a little bit of a hassle as we had to water the microgreens everyday.
Having said all that, if you still want to try growing microgreens at home using soil, here are the materials you will need and the steps that you will need to do.
Materials needed:
- soil
- container
- microgreens seeds
Instructions:
- Put one or two inches of moistened potting soil on the bottom of the container. Flatten it, but make sure not to over-compress the soil mix.
- Spread the microgreens seeds evenly on top of the soil. Press them gently into the soil.
- Using a thin layer of soil, cover the microgreens seeds. Since you covered the seeds already, there is no need for a lid. But if you prefer to scatter the seeds above the soil, you will have to use a lid to trap humidity.
- Make sure to mist the soil once or twice daily to keep the soil moist.
- Once the microgreens seeds have sprouted, you can now remove the lid. Make sure to continue misting at least once or twice a day.
How to Grow Microgreens Without Soil: Growing Microgreens With A Grow Mat

Another common method for growing microgreens at home involves using grow mats. These are much less messy than soil. The grow mats are soaked in water, placed in either a shallow tray or on a screen above a water reservoir, and a lid is typically put on top to help with germination, as the microgreens seeds are exposed to air on the top.
To grow microgreens using grow mats, you can follow the instructions below.
Materials needed:
- grow mats
- tray/container
- lid
- microgreens seeds
Generic Instructions:
- Measure the number of seeds needed for your trays
- Soak the grow mats with water and place them in your tray
- Scatter seeds onto your grow mats
- Cover with a lid and place near a window
- Water everyday.
- Remove the lid and harvest after 2-7 days
These instructions are easy to follow, but did you know that at Urban Leaf, we formulated a much easier to grow microgreens by creating our patent-pending hydroponic system for our microgreens growing kit?

An easier version:
- Fill the tray with water until it’s level with the dip in the center.
- Wet the microgreens grow mat thoroughly until it’s sopping wet. A sprayer faucet works great if you have one.
- Slide one grow mat in between the fins and the wall of the tray. Lay the mat flat over the rest of the tray without tucking it into the other sides.
- Grab your selected microgreens seeds and follow the guidance listed on the back of the seed packet. This is where you’ll find seed amount, lid removal time, and harvesting info.
- Scatter seeds evenly using the back of a spoon or by hand. Place the lid on to trap the humidity.
- Gather and harvest after 7 days! :) No need to water everyday.
Materials that you can Use for a Microgreens Grow Mat
There are lots of material options you can use for microgreen grow mats, ranging from paper to coconut fiber to hemp. After trying them all out, we found a pretty big range in performance – some totally disintegrated after a couple of days, some stunk up the water and became pretty gross, and some options we ruled out because of either cost or environmental reasons.
The best material we found for use as a microgreens grow mat was jute – a natural fiber derived from plants. Jute is economical, fully biodegradable, and renewable. This is the material we include in the Urban Leaf microgreens kit.
… but some also worked really well. If used in a shallow grow tray, they still need to be watered daily, but if used in tandem with a reservoir then we were
Grow Microgreens at Home Kit Options
Finally, there are some microgreen kits out there where the structure, mat, seeds, and germination cover are all sandwiched together into one part. This made for an easy setup, and as the kit also had a reservoir, we only needed to water once.
It did come with some downsides, however; the refills were expensive and we felt like we were generating a lot of waste at the end of each grow, as the parts that are normally reusable (i.e. germination dome & support structure) were part of the disposable mat.
That’s why we made a microgreens kit where you can re-use the trays and lids so that you will only need to replenish with seed and grow mat refills.
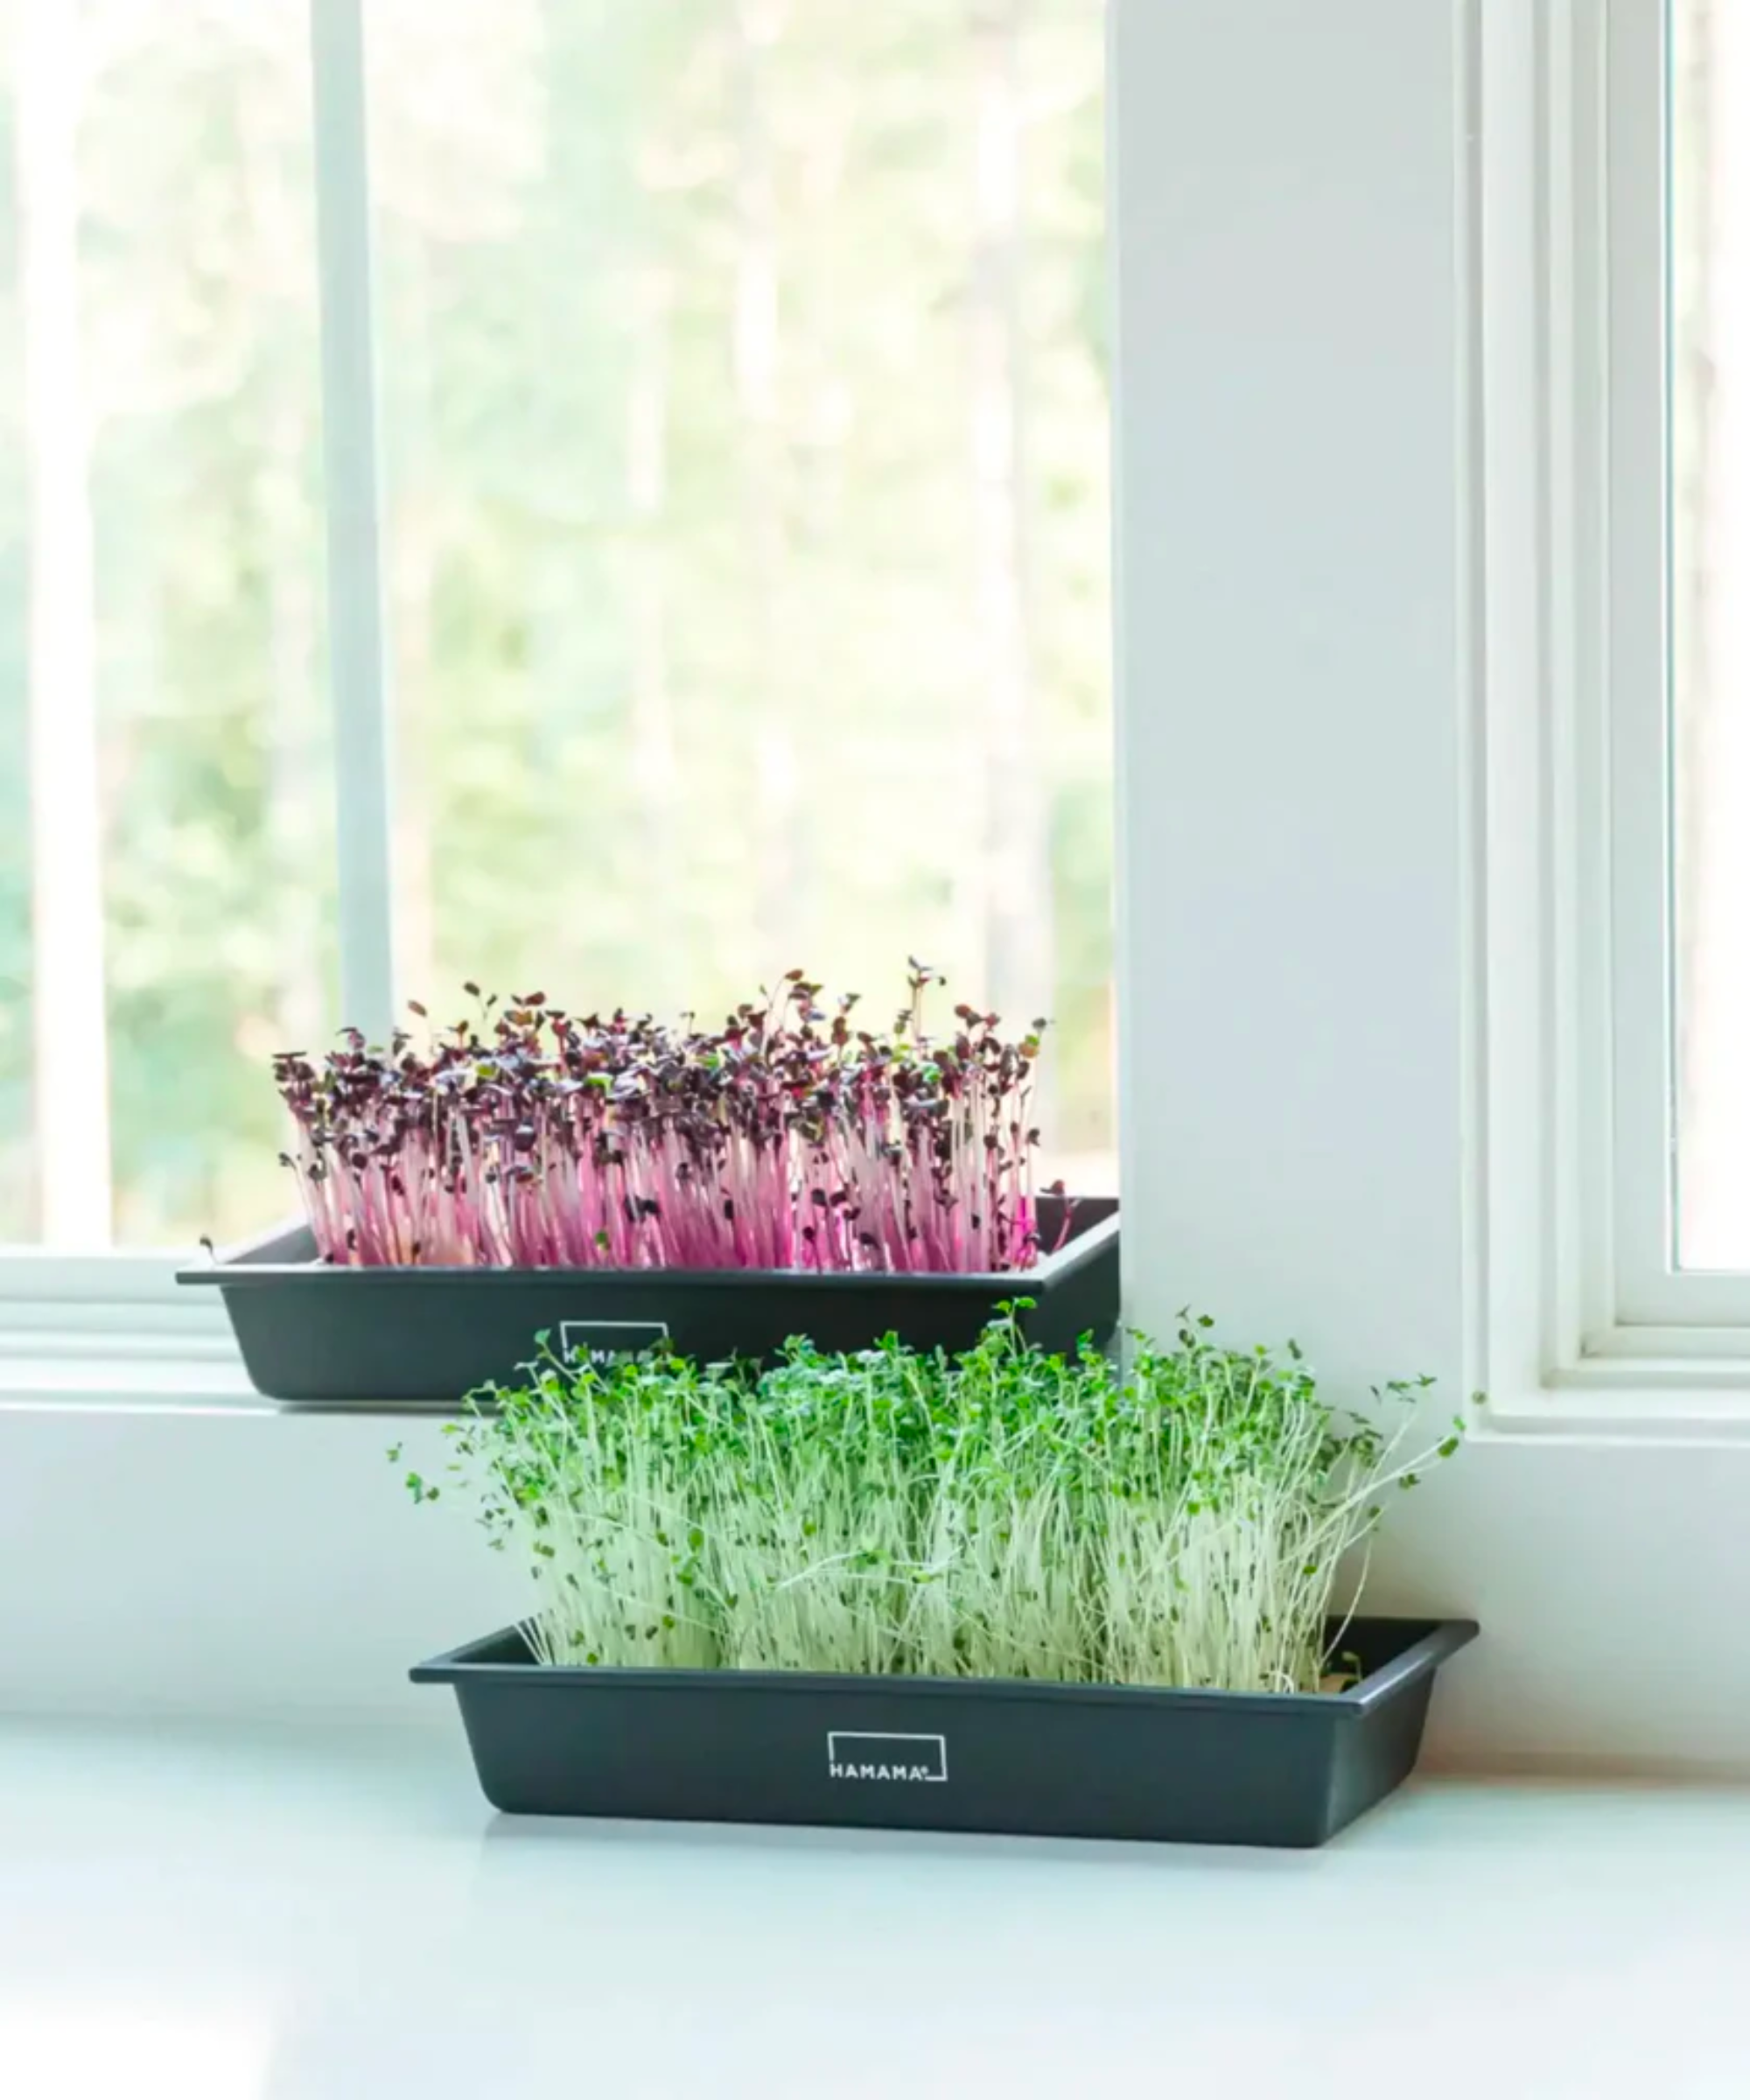
Can You Grow Microgreens Without Soil?
Yes! In fact, our favorite systems from our early testing were hydroponic (meaning grown without soil). As microgreens are harvested when they are very young, they don’t require the nutrients that soil normally provides, and are happy in a grow mat and pure water.
Our microgreens kits use a patent-pending hydroponic system that combines wicking (to help the seeds get to the sprout stage) and Kratky hydroponics (to support the growth of the plant from sprout to microgreen). It’s got the benefits of more advanced systems – but all that is required for each grow is a biodegradable jute mat.
Will Microgreens Regrow?
For the most part, you harvest the entire plant so microgreens will not regrow. There are a few exceptions, however – lentils, peas, garbanzo, and other shoots will regrow as long as you harvest them just about their bottom set of leaves. You can get about 3 harvests before they become too tough.
What Else Can You Grow At Home?
In short, there are PLENTY of other things you can grow at home besides microgreens. In fact, that’s what we specialize in here at Urban Leaf. If you’d like to learn more about the wide range of herbs, leafy greens, fruits, and vegetables that you can grow at home and indoors then consider grabbing a FREE copy of our eBook below.


There are no comments for this article. Be the first one to leave a message!